

The Air 3, with its twin stacked 1/1.3″ sensors, takes glorious images, whether or not in optimum situations and even in low gentle, in extensive angle 24mm or medium tele 70mm.

On the video entrance, likewise, the 24mm and 70mm cameras seize spectacular 4k 100fps, 10-bit footage, that rivals a lot of the footage seen on the dearer Mavic 3 sequence.
How can all of this content material be downloaded?
This complete information, with screenshots, will stroll by means of downloading images and movies if utilizing:
- a Home windows PC
- a Mac
- a cellular phone or sensible machine
- The DJI Fast Switch characteristic
High Drone Programs
Downloading Images & Movies
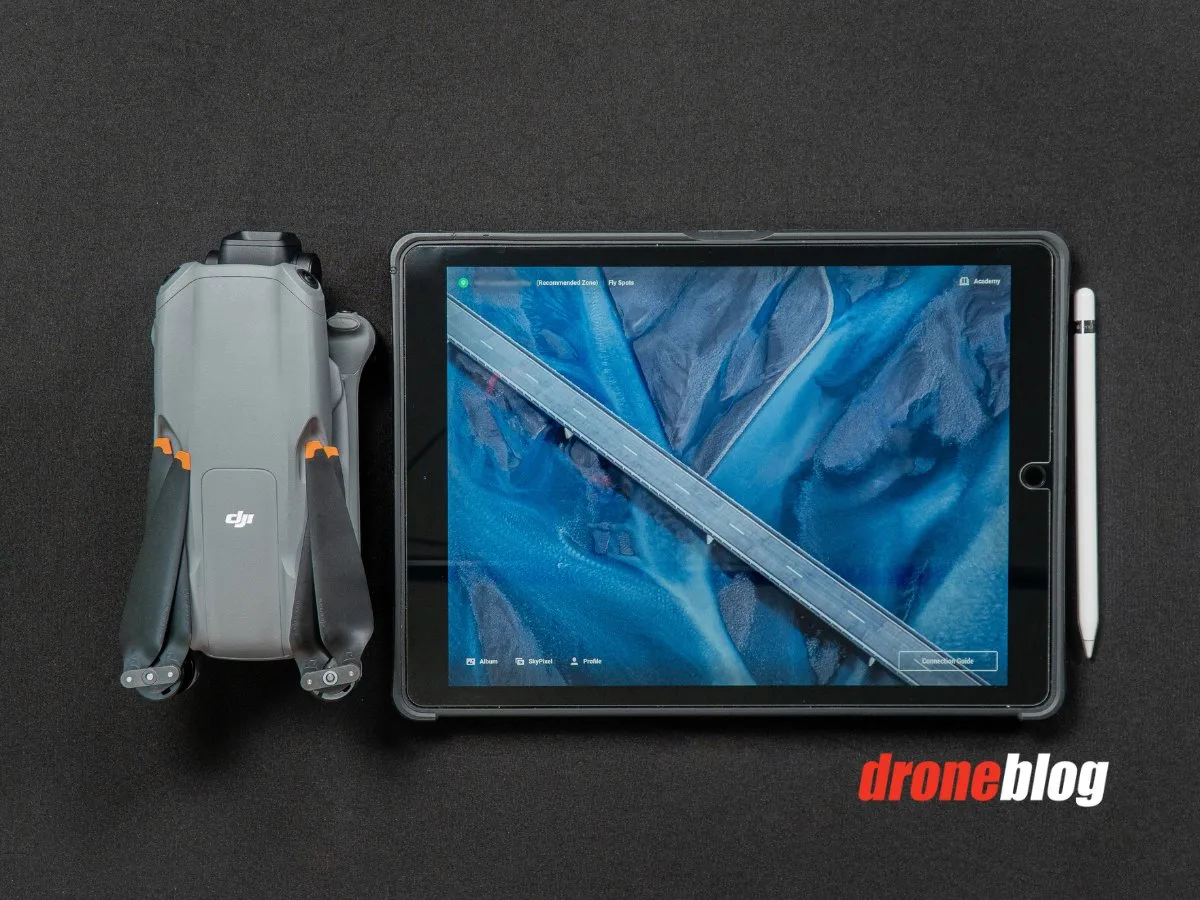
There are numerous methods to entry the content material on the Air 3.
One methodology is the direct join methodology, which could be executed by straight connecting the Air 3 to a PC or Mac utilizing the included USB-C cable.
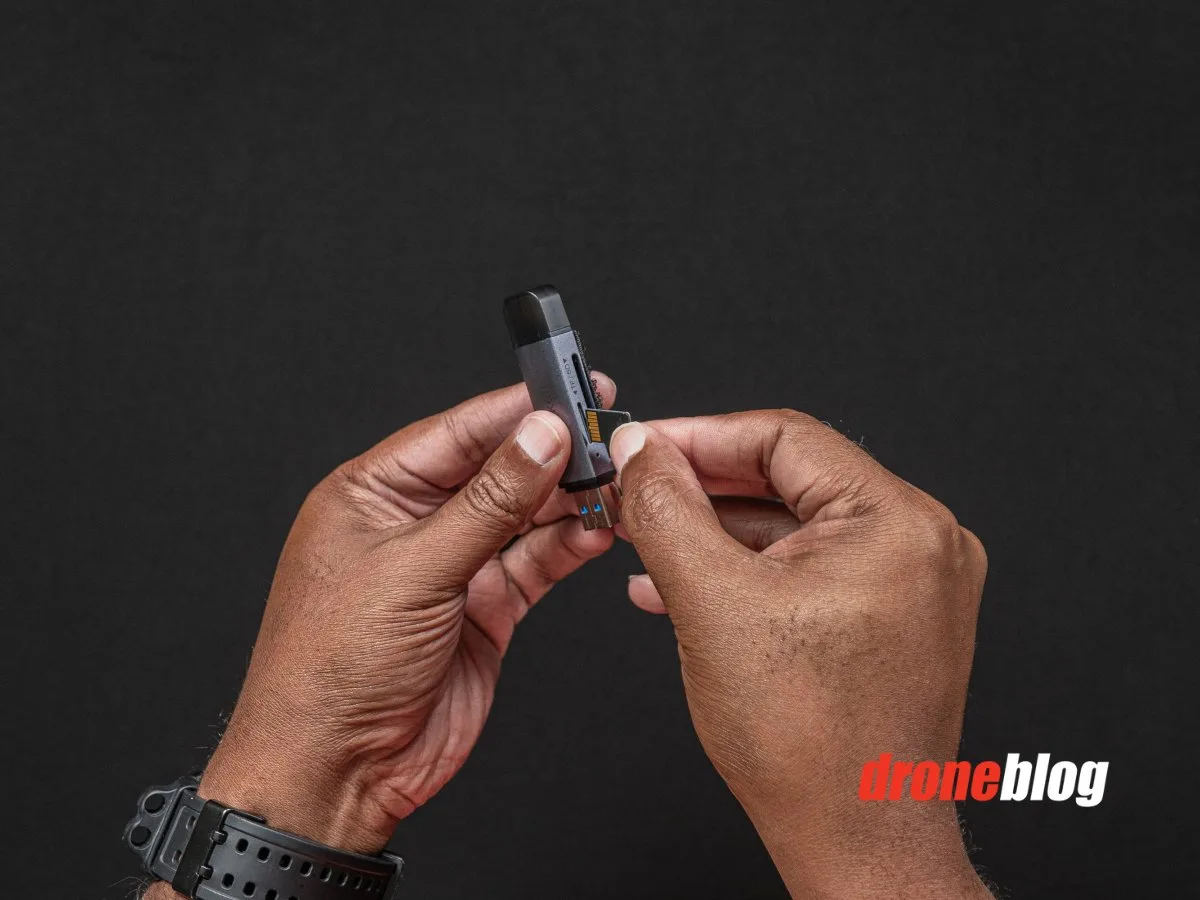
The second methodology is utilizing an SD card reader. To take action, merely:
- Take away the SD card from the Air 3
- Insert the cardboard into the reader
- Plug the reader into a pc
Afterward, you’ll be able to then view and edit the data straight from inside a listing in your PC or Mac.
This can be a handy method to switch/obtain recordsdata, because the Air 3 doesn’t should be bodily current or linked to a pc to take action.
For those who determine to go this route, the steps under could be adopted after the PC or Mac has acknowledged the SD card.
Our Decide

SD Card Reader, Beikell Twin Connector USB-C
USB 3.0 Reminiscence Card Reader Adapter – Helps SD/Micro SD/MMC/SDXC/SDHC/Micro SDHC Appropriate with MacBook Professional, MacBook Air, Galaxy S21, S22
We earn a fee if you happen to make a purchase order, at no extra price to you.
09/08/2023 09:41 am GMT
Downloading/Transferring recordsdata to Home windows PC
Direct Join Methodology
STEP 1: Join the Air 3 USB to USB-C cable to your PC, plugging the USB facet into an empty USB slot in your PC.
STEP 2: Whereas the Air 3 is off, plug the USB-C finish into the Air 3.
STEP 3: Your PC ought to robotically acknowledge the Air 3 storage.
Notice: Not like earlier DJI drones, there is no such thing as a must energy on the Air 3, as when it connects to the PC through USB-C, the interior storage and SD card are accessible.
Skip to STEP 4 within the SD Card Reader part under.
SD Card Reader Methodology
STEP 1: Eject the SD card from the Air 3.


STEP 2: Insert the Micro SD card into the corresponding SD card slot on the reader.
STEP 3: Insert the SD card reader into your PC.

STEP 4: Home windows/File Explorer could robotically launch. If it doesn’t, open your Home windows/File Explorer by right-clicking on the Home windows icon on the underside of your PC and selecting File Explorer.
STEP 5: After opening your File Explorer, you need to see your Air 3’s SD card. I beforehand named mine Air 3 to simply distinguish it from the handfuls of different playing cards I insert and use on my PC recurrently.
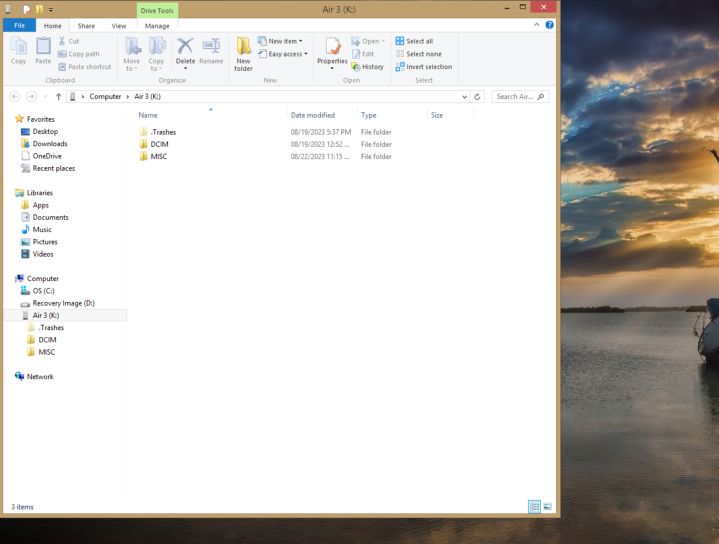
STEP 6: After clicking in your Air 3‘s SD card, you will note the contents of the SD card.


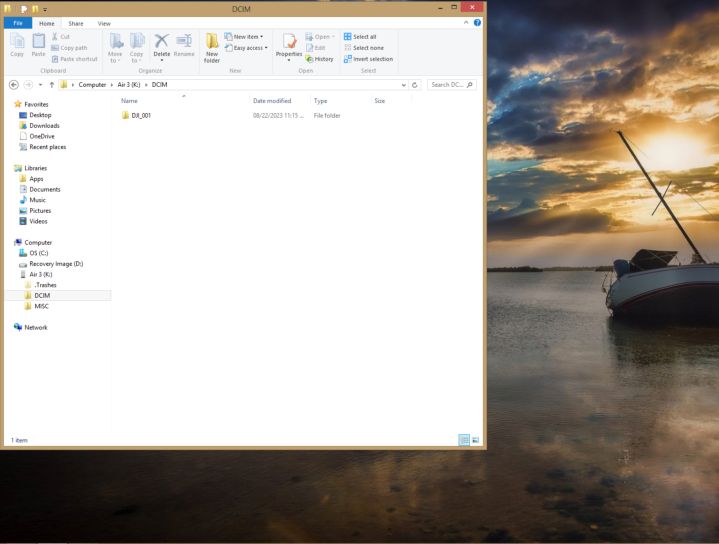
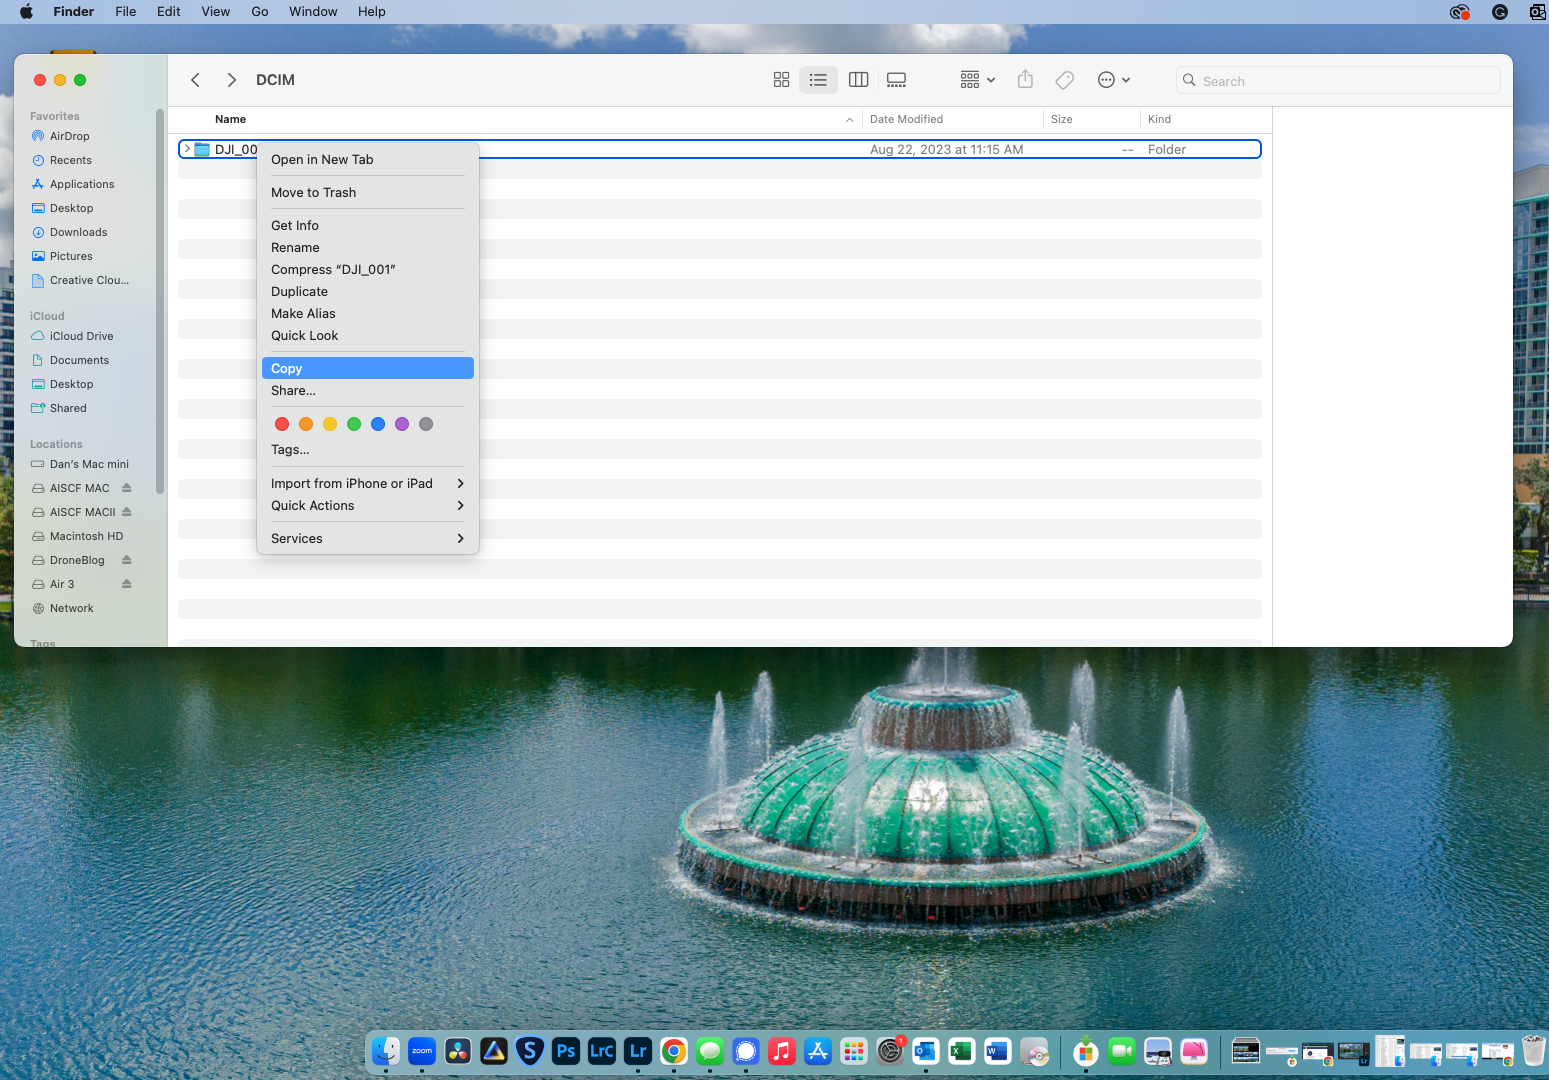
STEP 7: Choosing the DCIM folder will carry you to the listing the place your media is finally saved. Mine is the DJI_001 listing. yours could also be completely different.


STEP 8: To repeat all the recordsdata into the listing of your selection in your PC, you’ll be able to right-click the DJI_001 listing and select COPY.
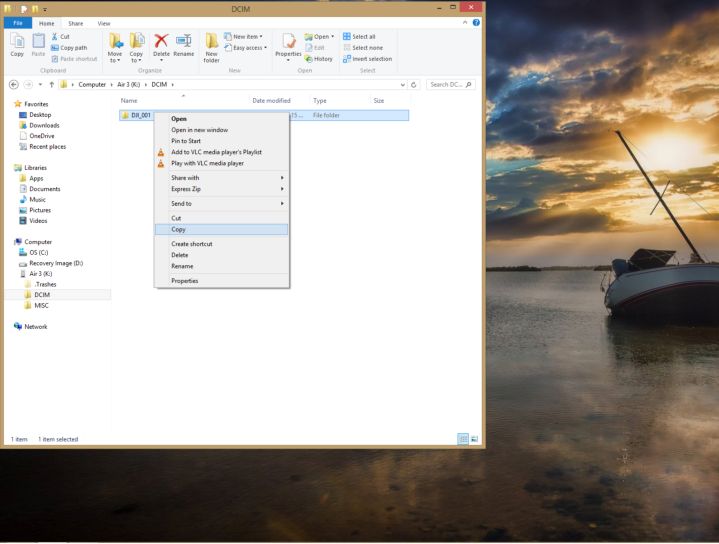
Alternatively, you’ll be able to click on and select what recordsdata you’d like to repeat after which transfer to STEP 9.
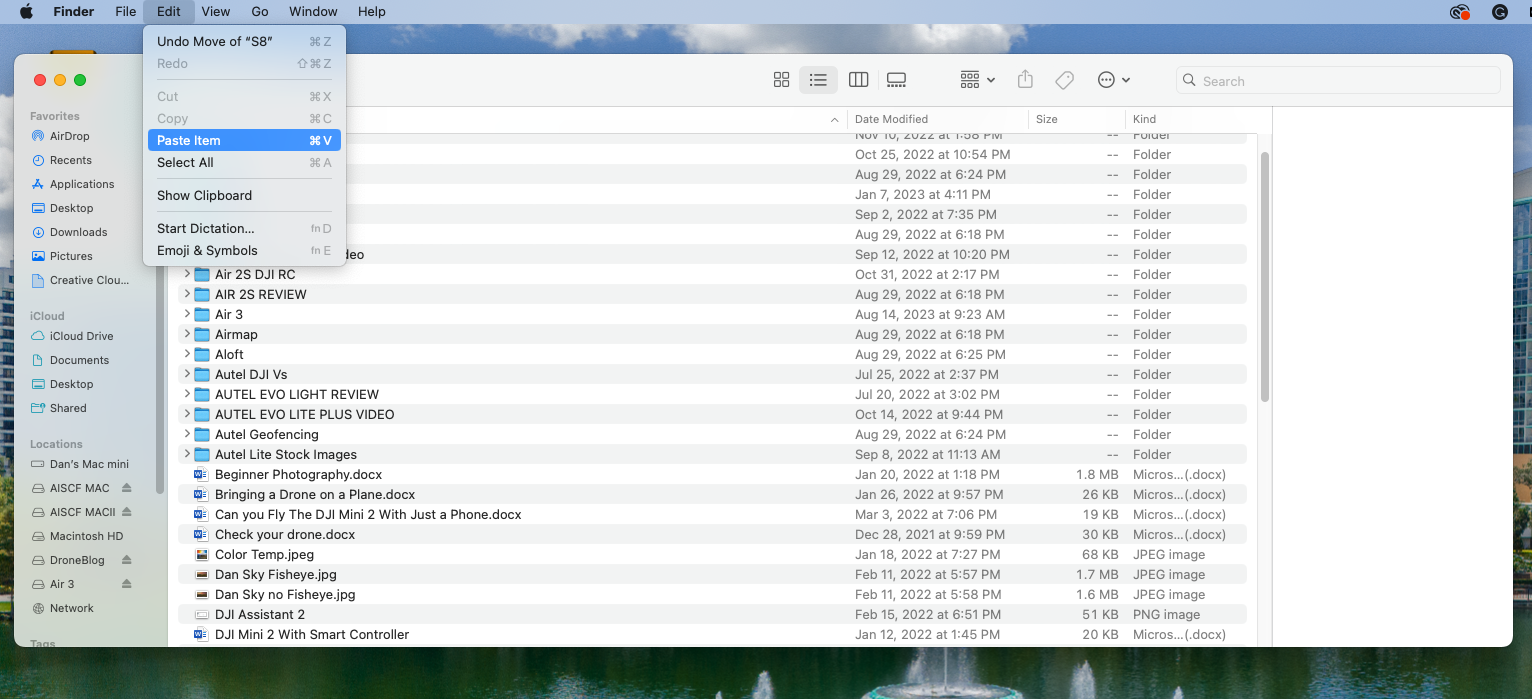
STEP 9: To stick the recordsdata or listing into your folder/listing of selection, navigate by means of the Explorer Window, find the listing you’d like to repeat to, open the listing, after which right-click and PASTE into stated location.

Mac
Direct Join Methodology
STEP 1: Join the Air 3 USB to USB-C cable to your Mac, plugging the USB facet into an empty USB slot in your Mac.
STEP 2: Whereas the Air 3 is off, plug the USB-C finish into the Air 3.
STEP 3: Your Mac will robotically acknowledge the Air 3 storage (Inside reminiscence and SD card).
Notice: Not like earlier DJI drones, there is no such thing as a must energy on the Air 3, as when it connects to the Mac through USB-C, the interior storage and SD card are accessible.
Skip to STEP 4 within the SD Card Reader part under.
SD Card Reader Methodology
STEP 1: Eject the SD card from the Air 3.
STEP 2: Insert the Micro SD card into the corresponding SD card slot on the reader.
STEP 3: Insert the SD card reader into your Mac.
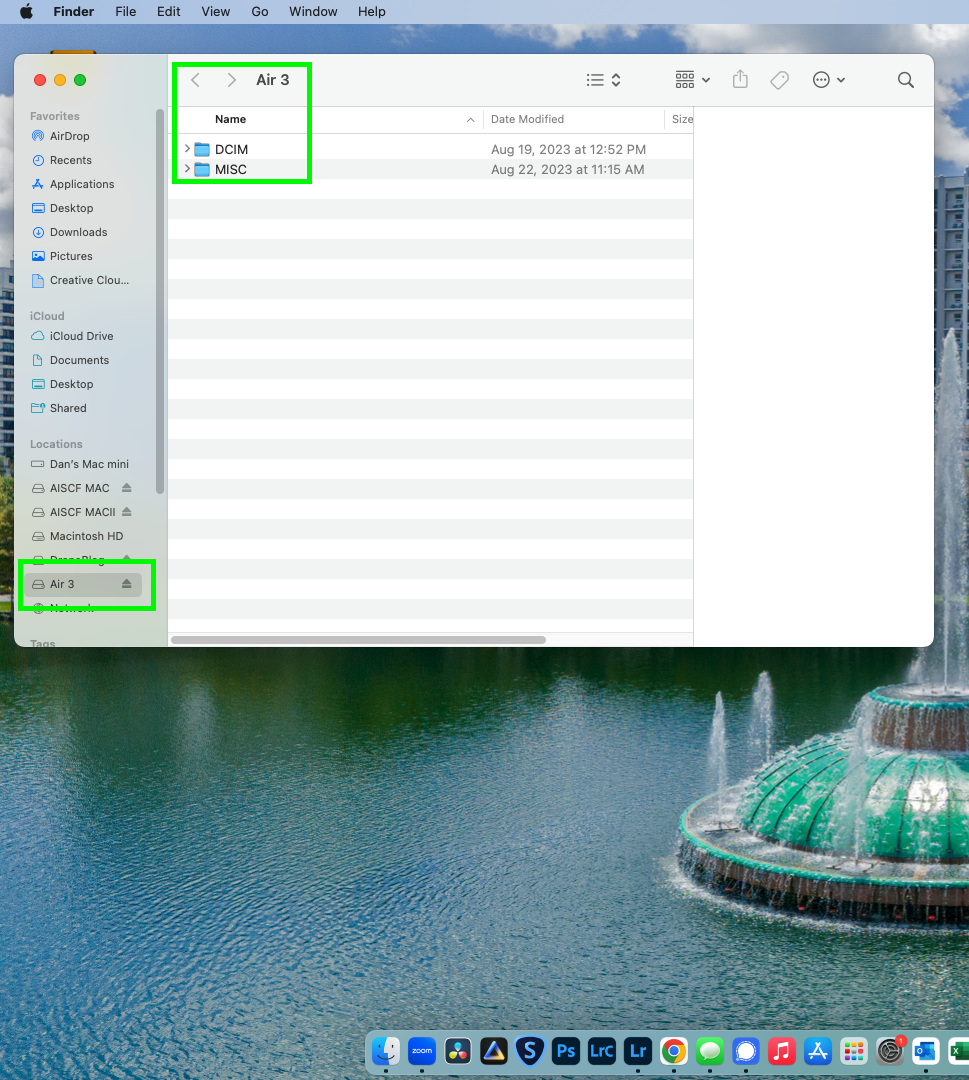
STEP 4: After the SD card reader connects to the Mac surroundings, you need to see the SD card title seem on the desktop.
On this occasion, mine is called Air 3.


STEP 5: After you double-click the SD card icon (proven above) a Mac Finder window will open, displaying you the contents of the cardboard.
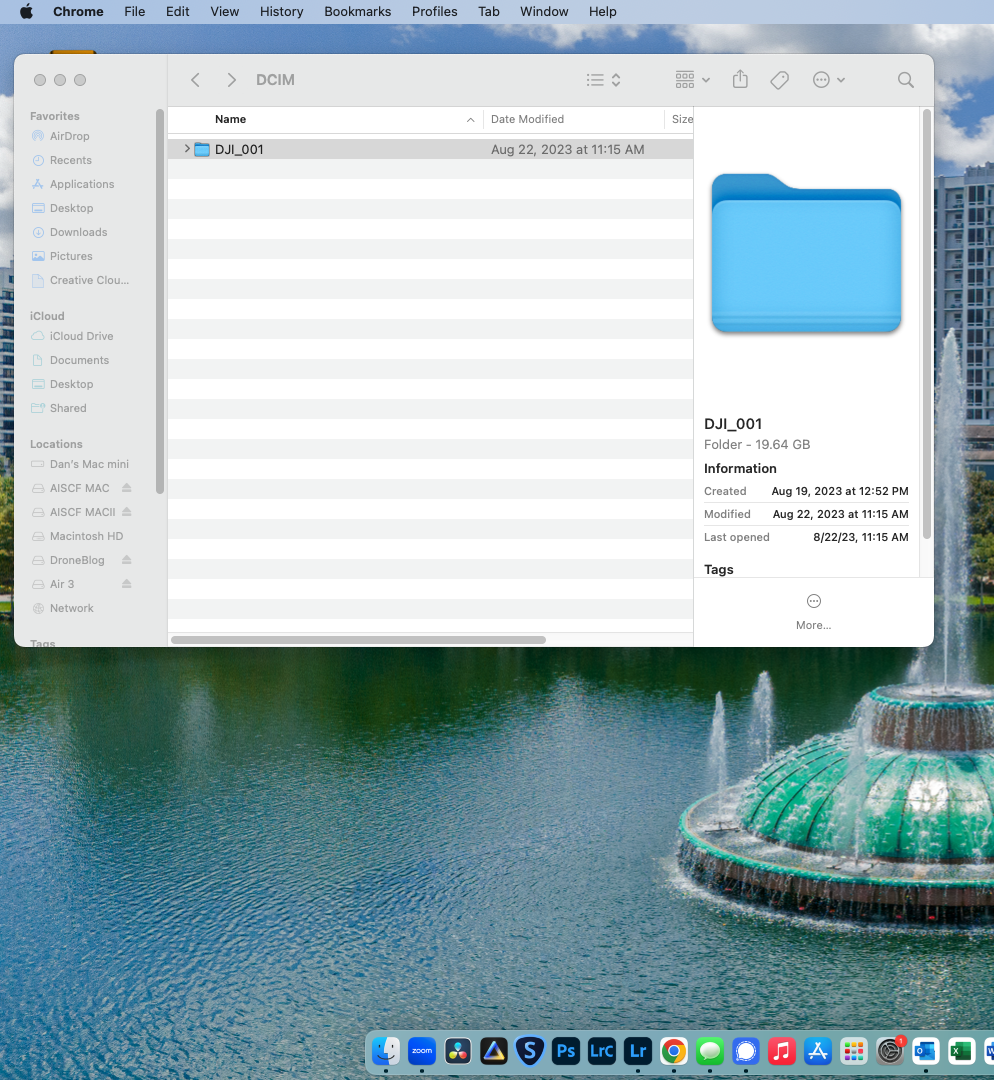
STEP 6: To entry your Air 3’s photos or movies, double-click the DCIM folder.
STEP 7: Below the DJI_001 listing (yours could also be completely different) you will see your DNG (RAW), JPEG, and MP4 recordsdata.
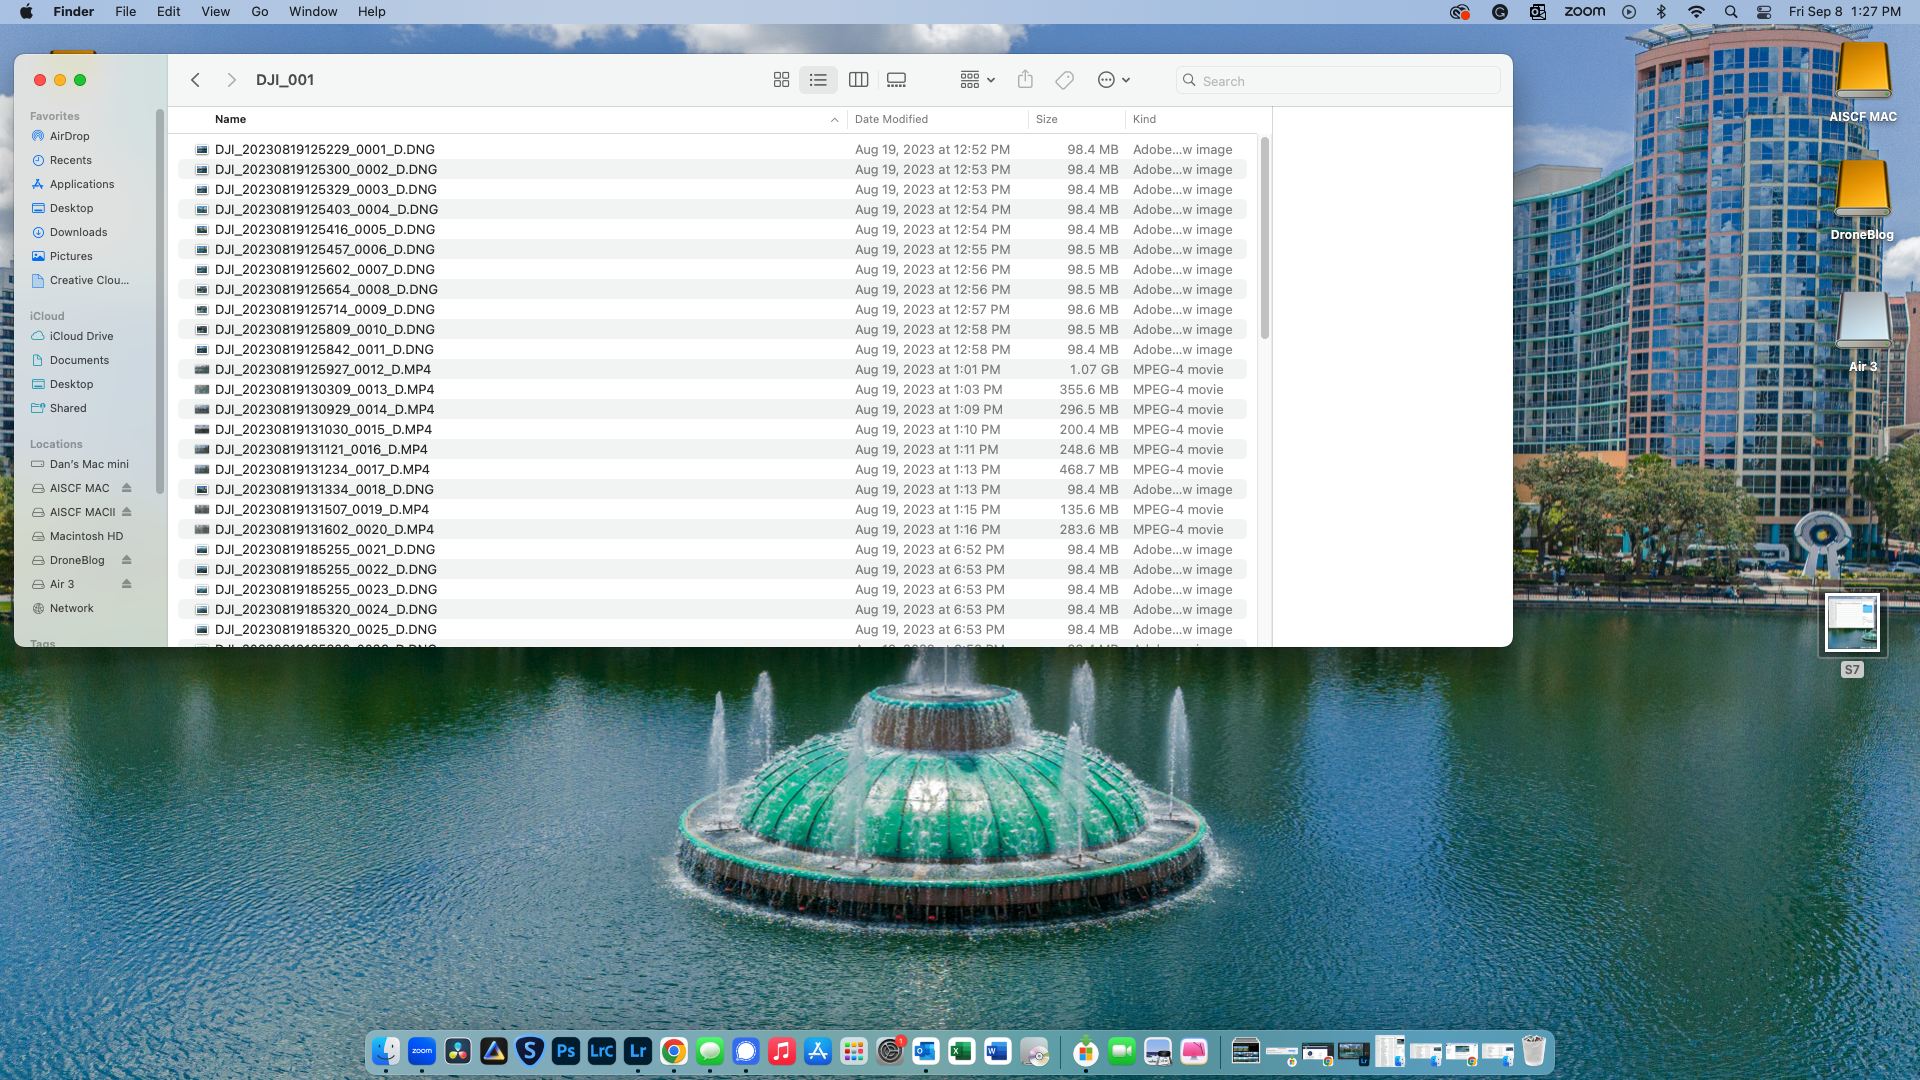
STEP 8: To repeat all the recordsdata into the listing of your selection in your Mac, you’ll be able to right-click the DJI_001 listing and select COPY.
You may also decide and select what recordsdata you’d like to repeat after which transfer to STEP 9.
STEP 9: To stick the recordsdata or listing into your folder/listing of selection, navigate by means of the Finder Window, find the listing you’d like to repeat to, open the listing, after which right-click and PASTE into stated location.
Cellphone/System
When flying with a DJI RC-N2, you’ll be able to obtain photos and movies from the Air 3 SD card on to your smartphone, whereas linked to the DJI Fly app.
Downloading particular person recordsdata is pretty gradual, however will work for individuals who solely must entry and edit a number of recordsdata. These desirous to obtain a number of recordsdata will need to use the QuickTransfer characteristic on the finish of this text.
We talked about the DJI RC-N2 as being the controller you’ll be able to copy Air 3 recordsdata with, as images and movies can’t be copied to the DJI RC2 distant controller at the moment. The recordsdata from the Air 3 are copied on to your Android or iOS smartphone or machine by means of the DJI Fly app.
To obtain recordsdata on to your Android or iOS smartphone or machine whereas within the DJI Fly app:
STEP 1: Whereas linked to the powered-on Air 3, again out to the principle DJI Fly display.
STEP 2: Choose Album
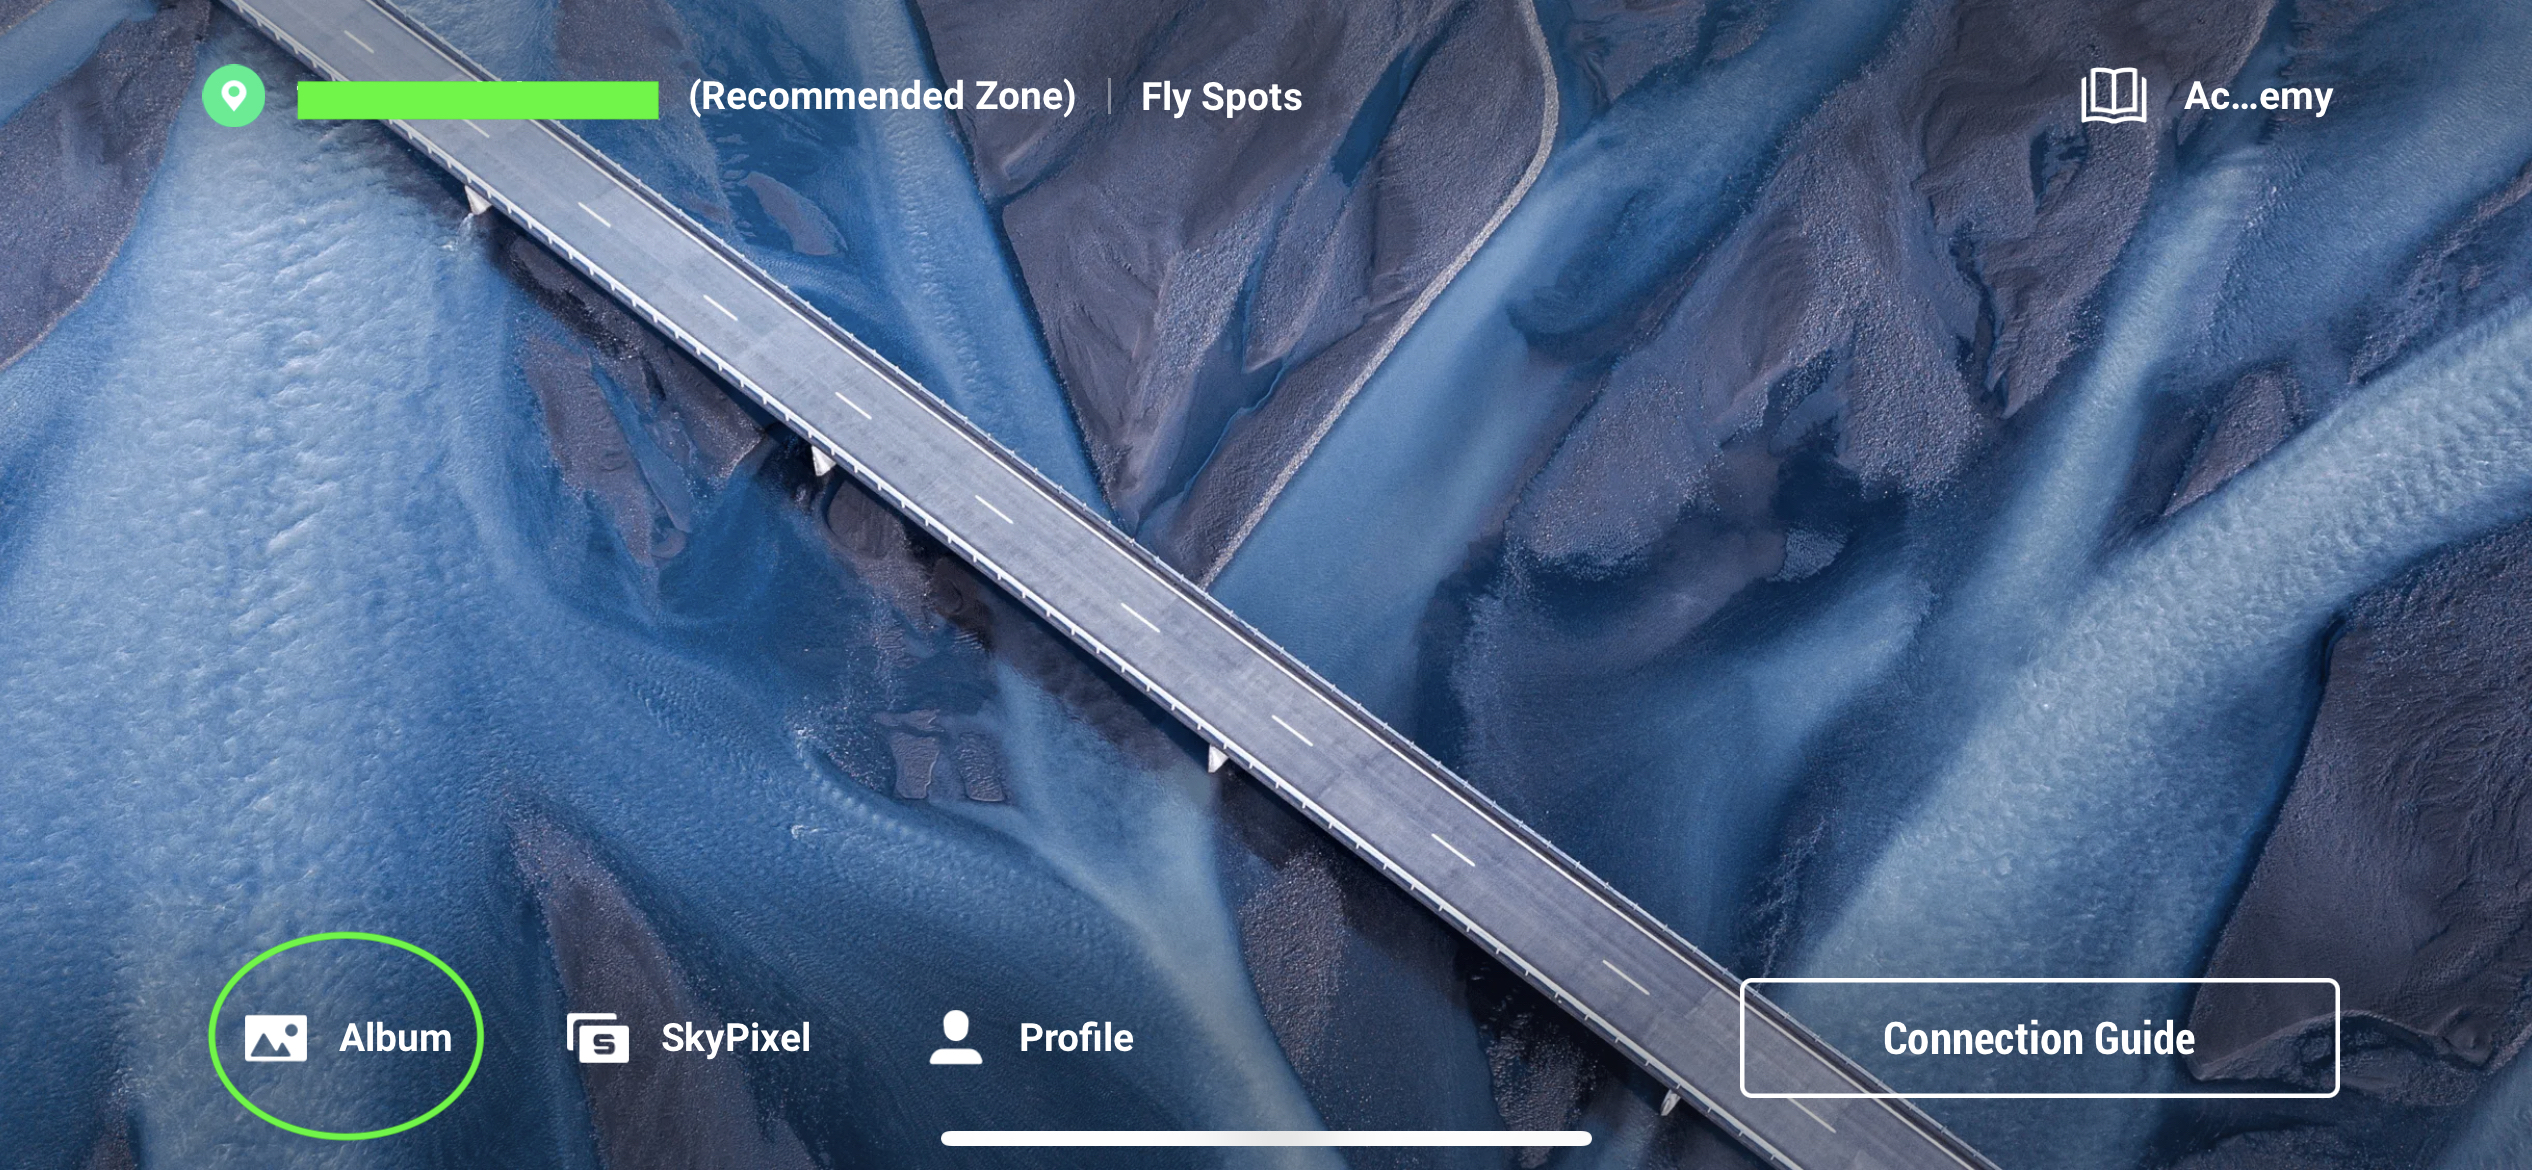
You’ll be able to then select to view Images, Movies, or all content material.
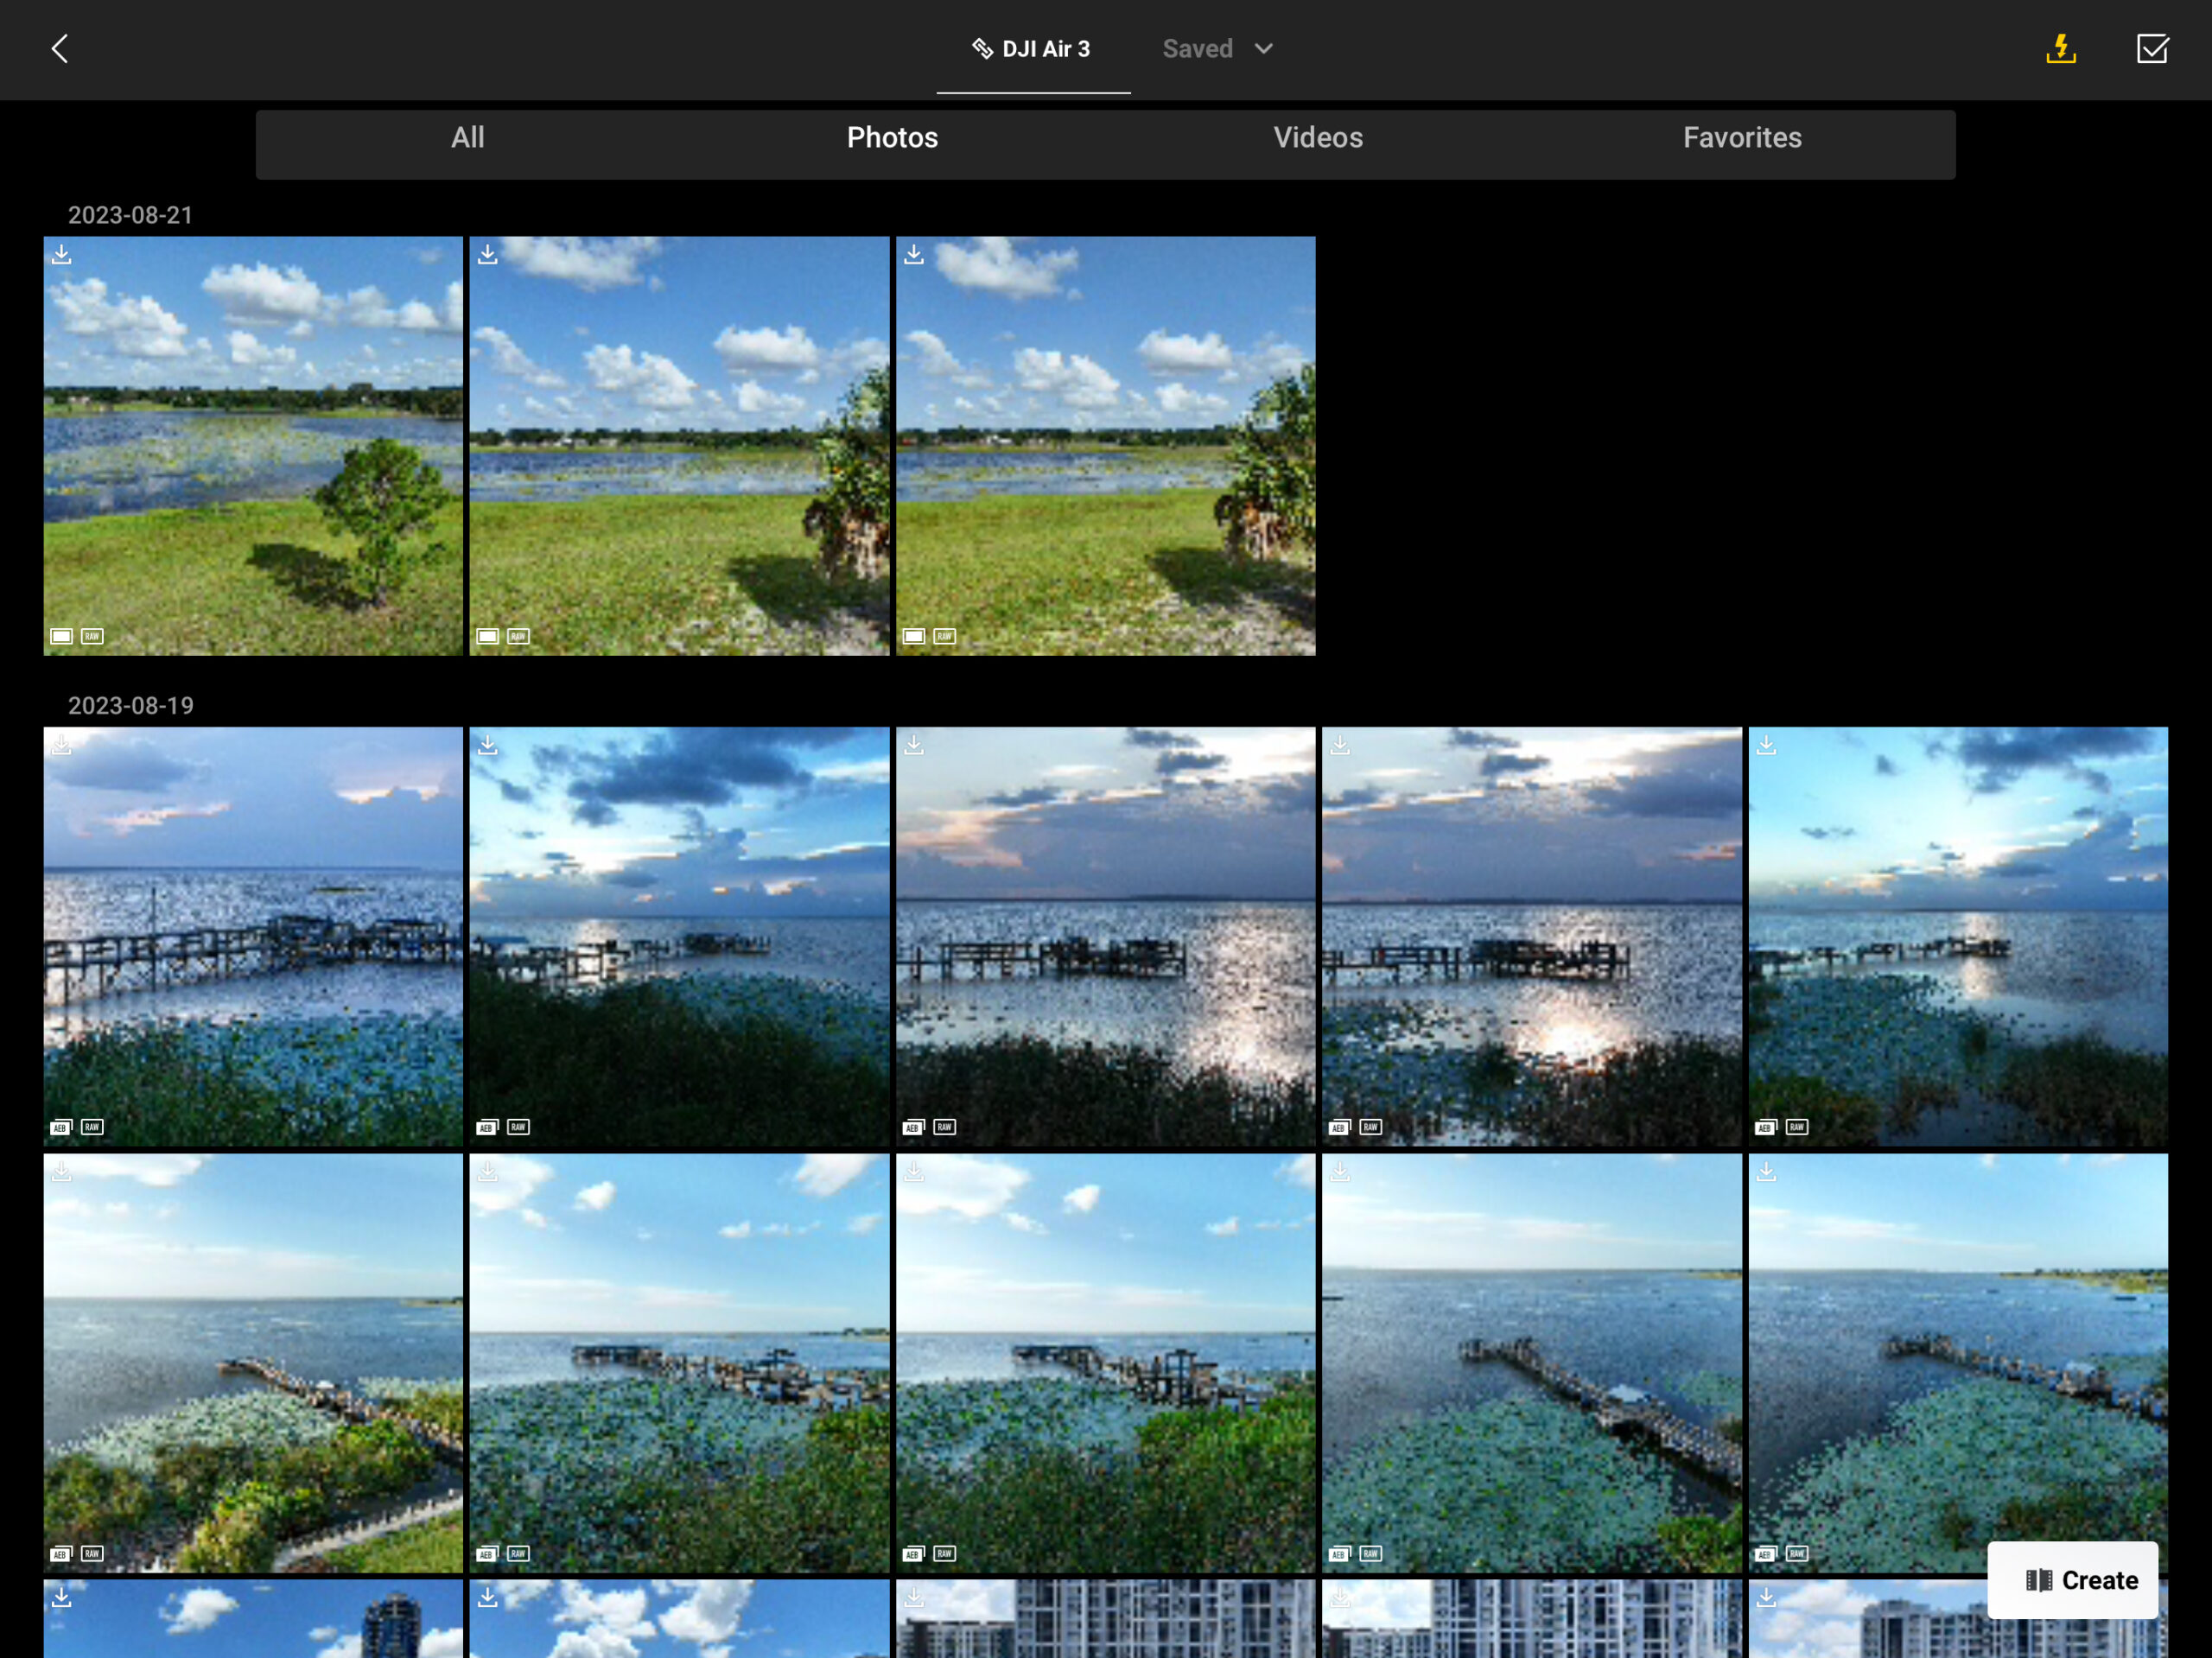
STEP 3: Press the checkmark within the higher right-hand nook to enter batch choose mode, the place you’ll be able to both individually choose recordsdata to obtain or batch choose a number of recordsdata.
STEP 4: Choose the recordsdata wanted, then press the obtain button on the underside right-hand nook.
You’ll see a progress bar and indicator letting you realize the file(s) are downloading.
You’ll be able to then entry these recordsdata from inside your telephone or pill editor or photo-browsing app of your selection.
QuickTransfer Function
The fast switch characteristic means that you can wirelessly export content material out of your Air 3’s SD card to an Android or iOS (Apple) smartphone or machine, all with out having to energy on the distant controller.
That is best for individuals who wish to rapidly edit their images or movies and instantly share them with household, associates, or on social media.
The objects wanted for the QuickTransfer characteristic:
- Air 3 (distant controller not required)
- Your sensible machine/telephone
- DJI Fly loaded on the sensible machine
Notice: If utilizing a DJI RC2, you can’t use the QuickTransfer characteristic to export images and movies to the distant controller. Because the RC doesn’t have enhancing features, transferring content material shouldn’t be supported. Modifying must be executed on an Android or iOS sensible machine
To make use of the QuickTransfer characteristic:
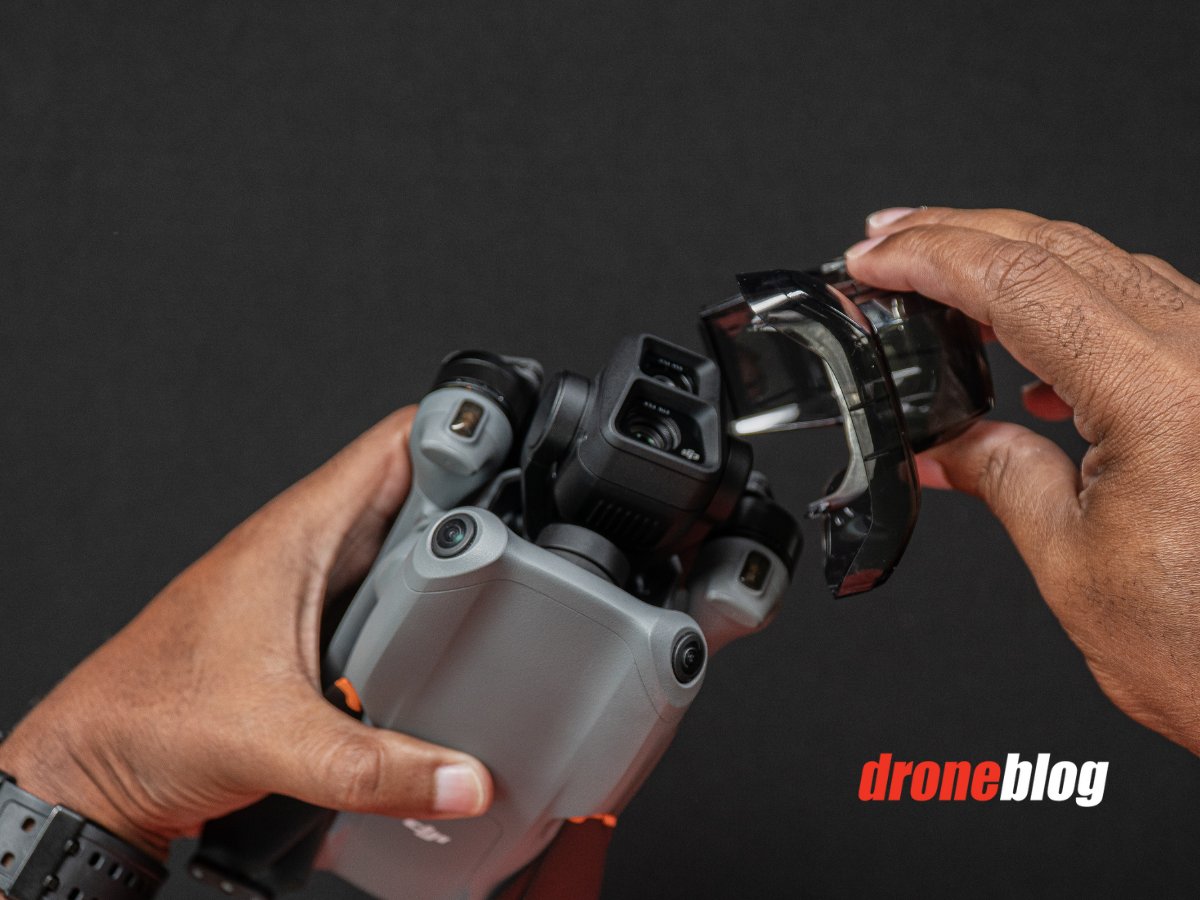
Step 1: Take away the gimbal guard and energy on the Air 3.

Step 2: Open the DJI Fly app
There can be a message stating Change to QuickTransfer Mode. Choose Change.

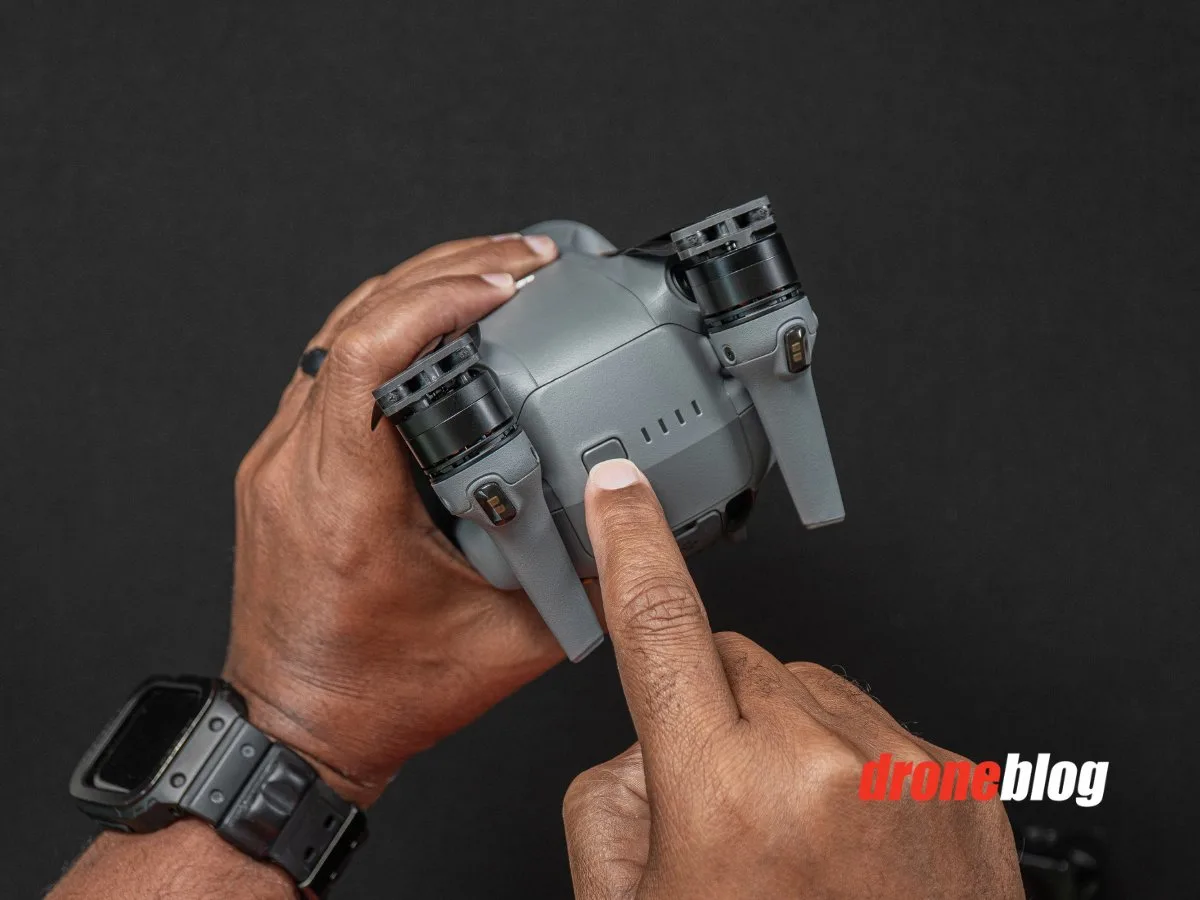
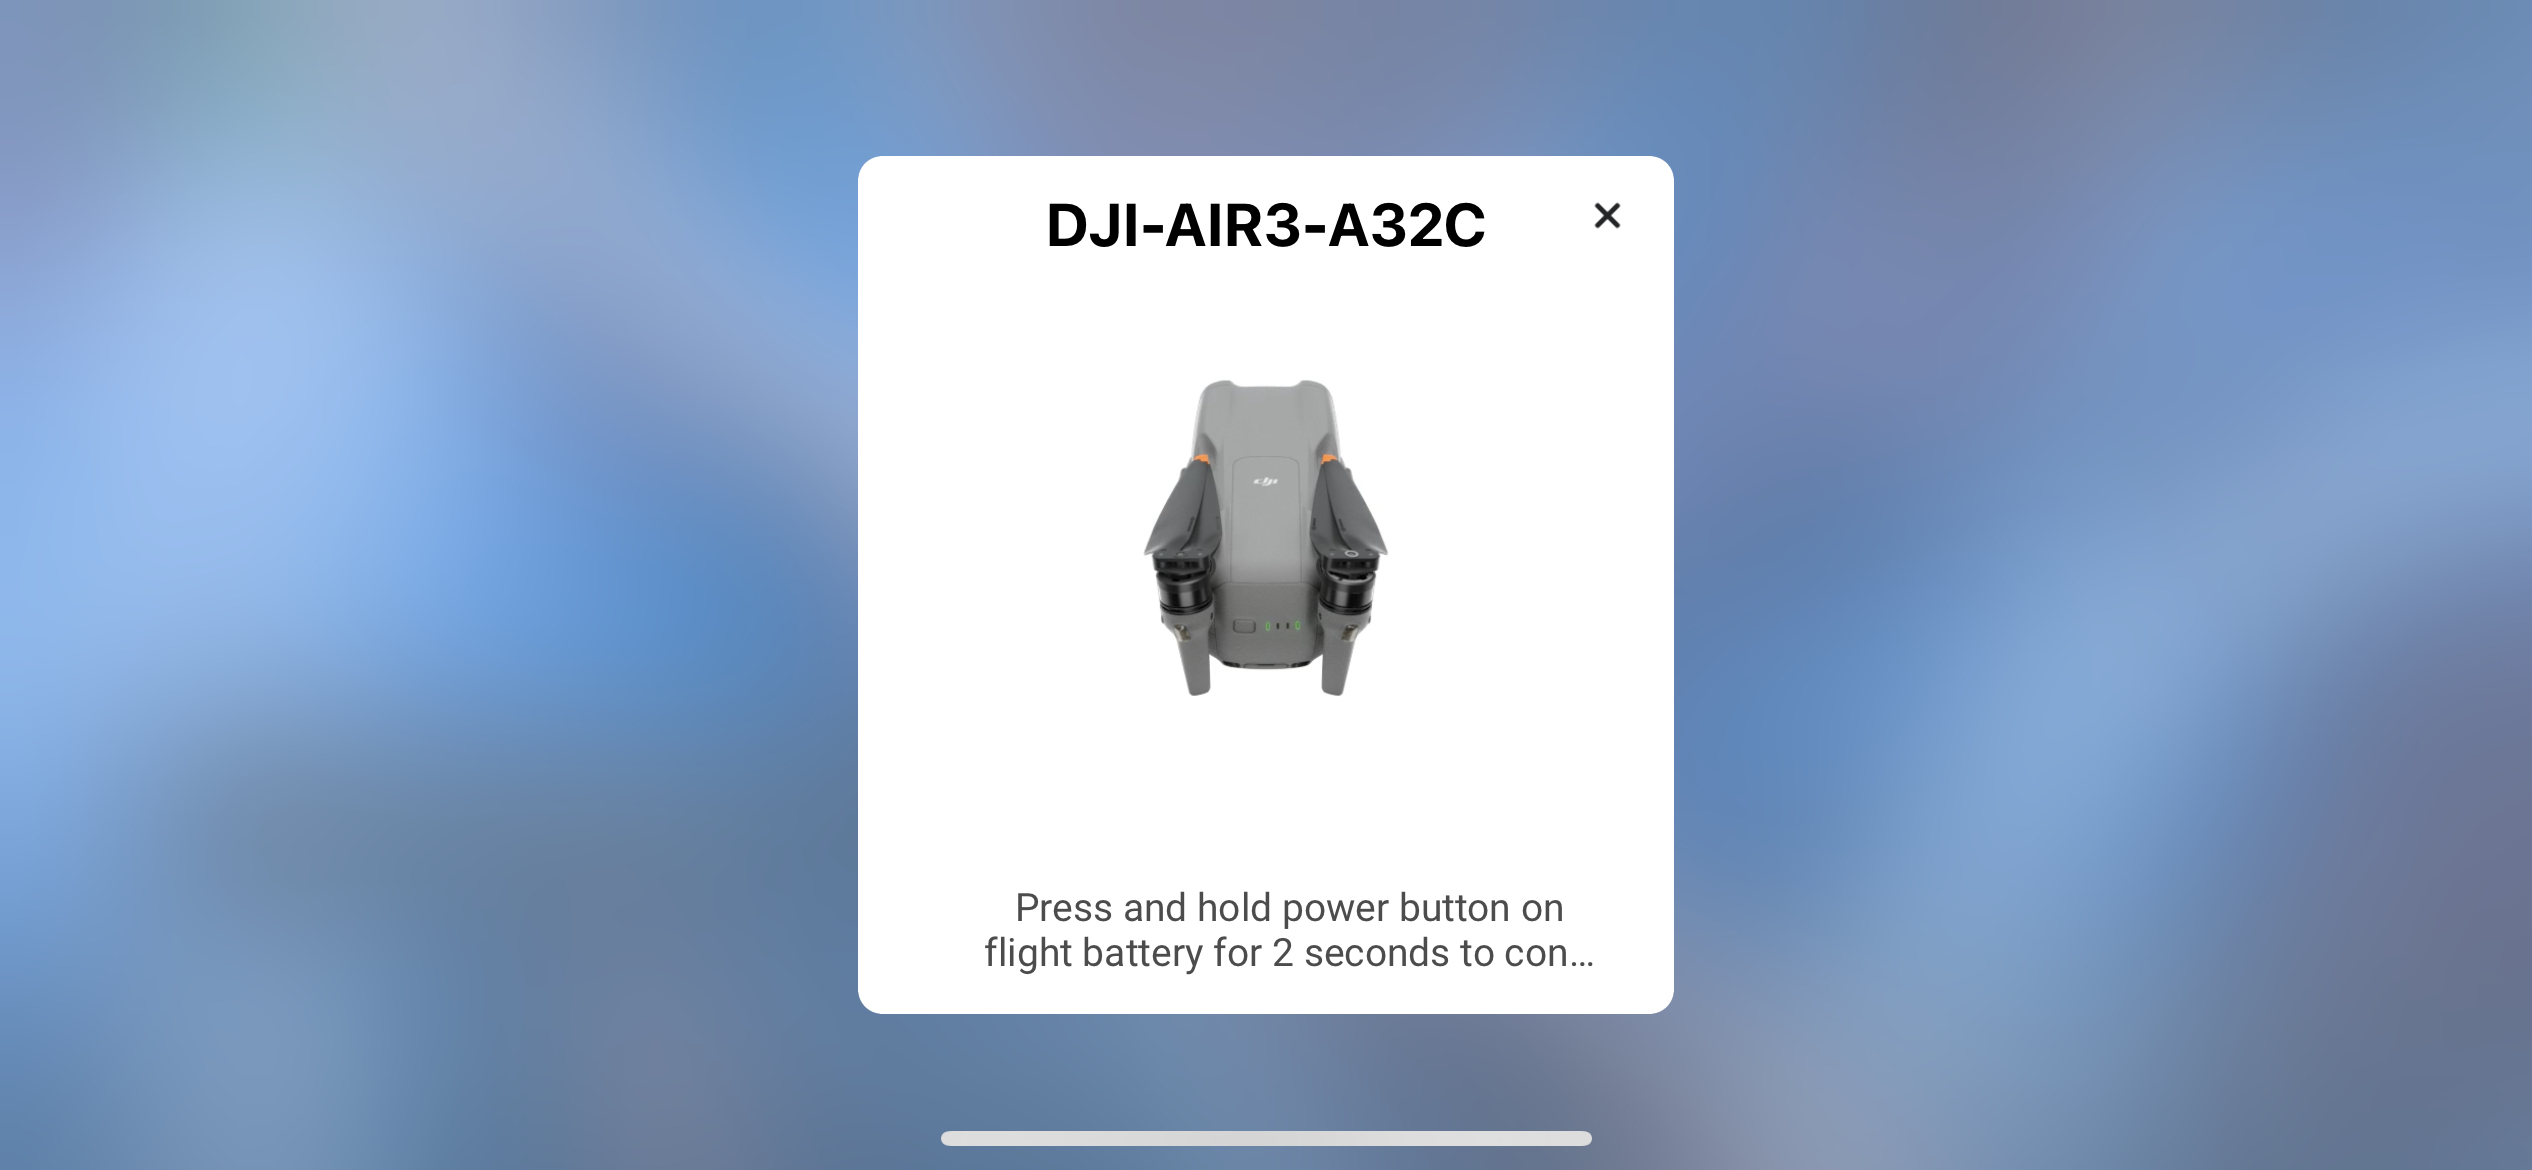
Step 3: You can be requested to Press and maintain the ability button for two seconds on the Air 3, to attach DJI Fly to the Air 3.
Press and maintain the ability button for two seconds.
Step 4: After urgent and holding the ability button for two seconds, you’ll be requested to be a part of the DJI Air 3 community. Press Be part of.

Step 5: Press View Album to see the content material on the Air 3 SD card.
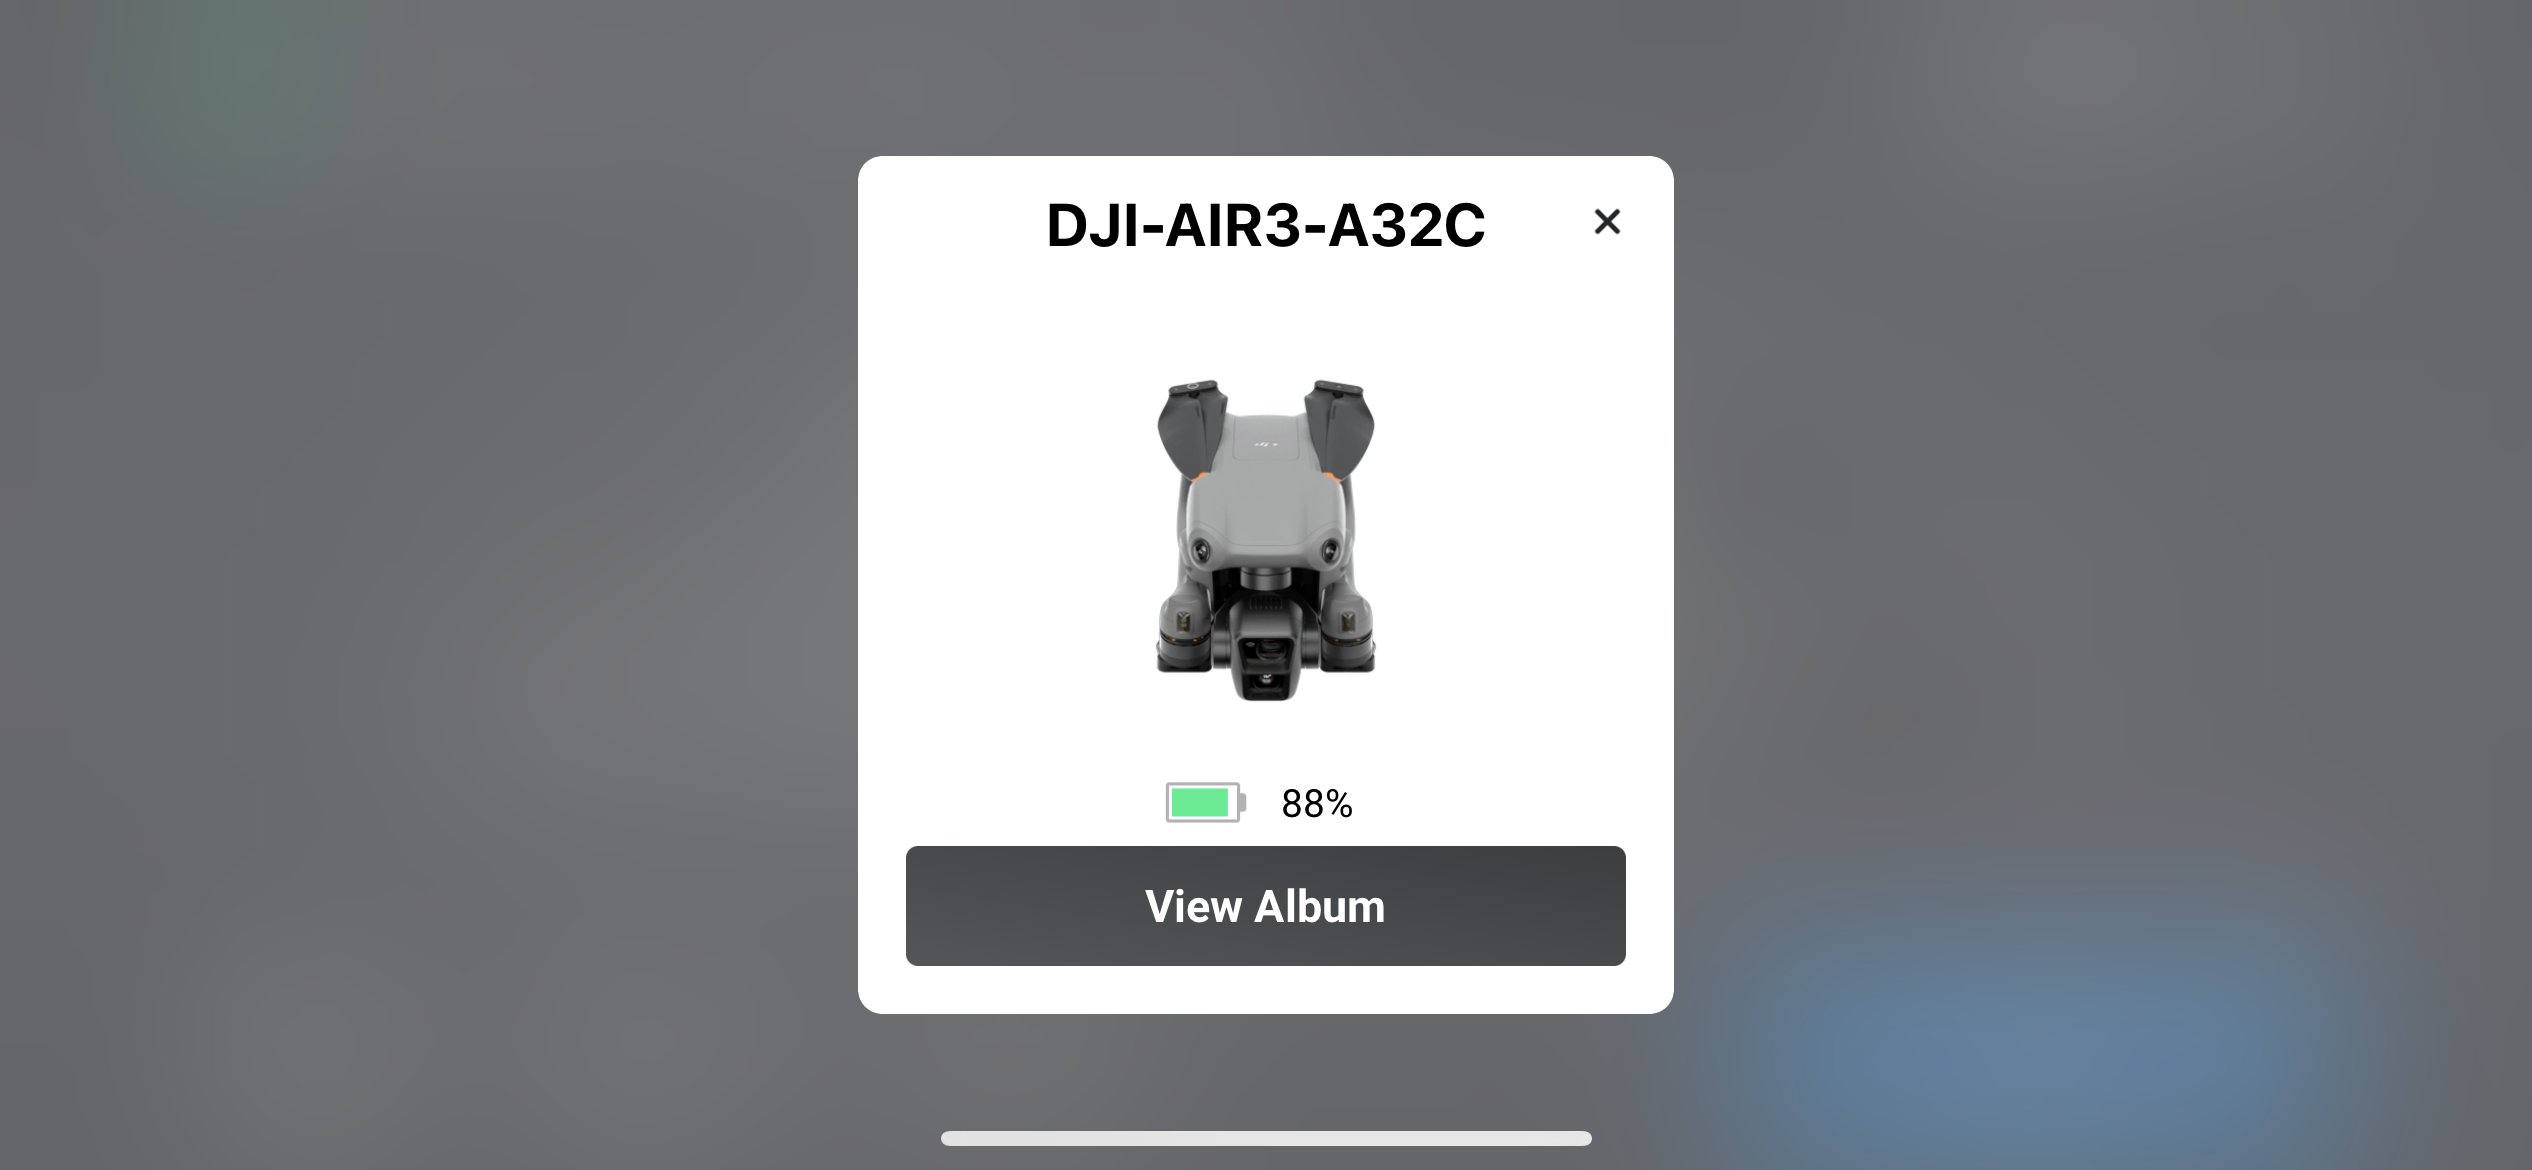
You’ll be able to then select to view Images, Movies, or all content material.
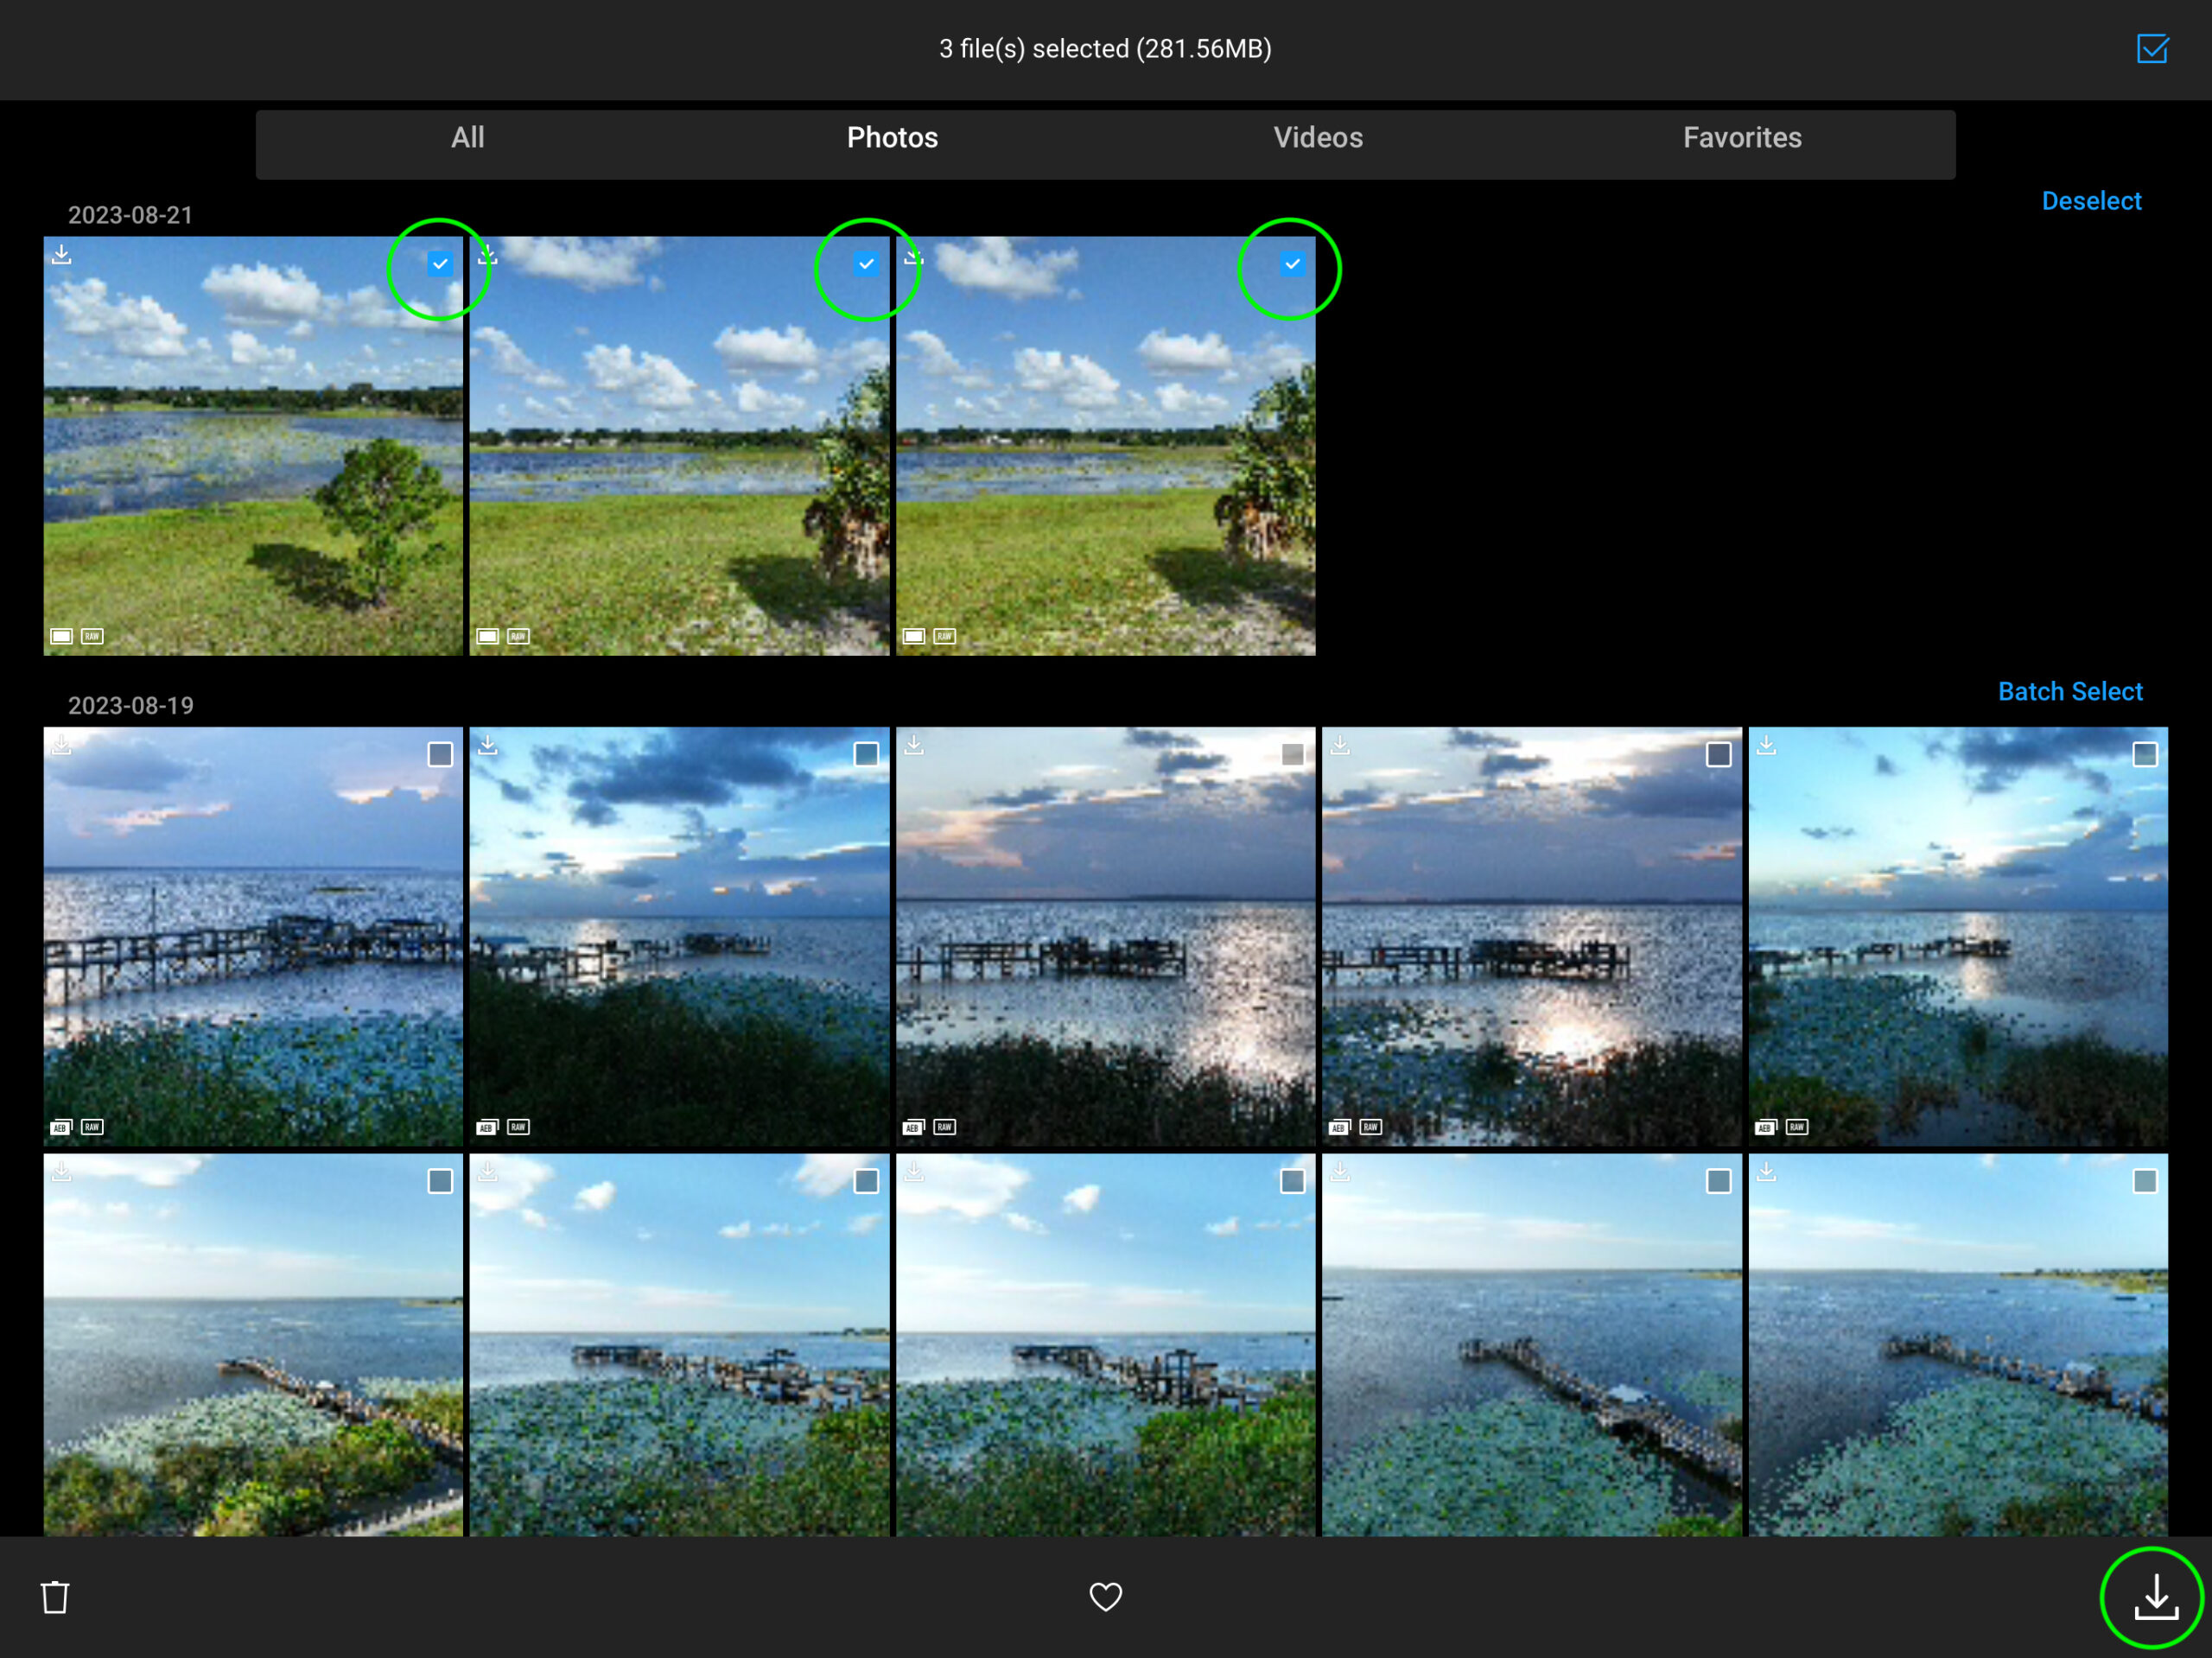
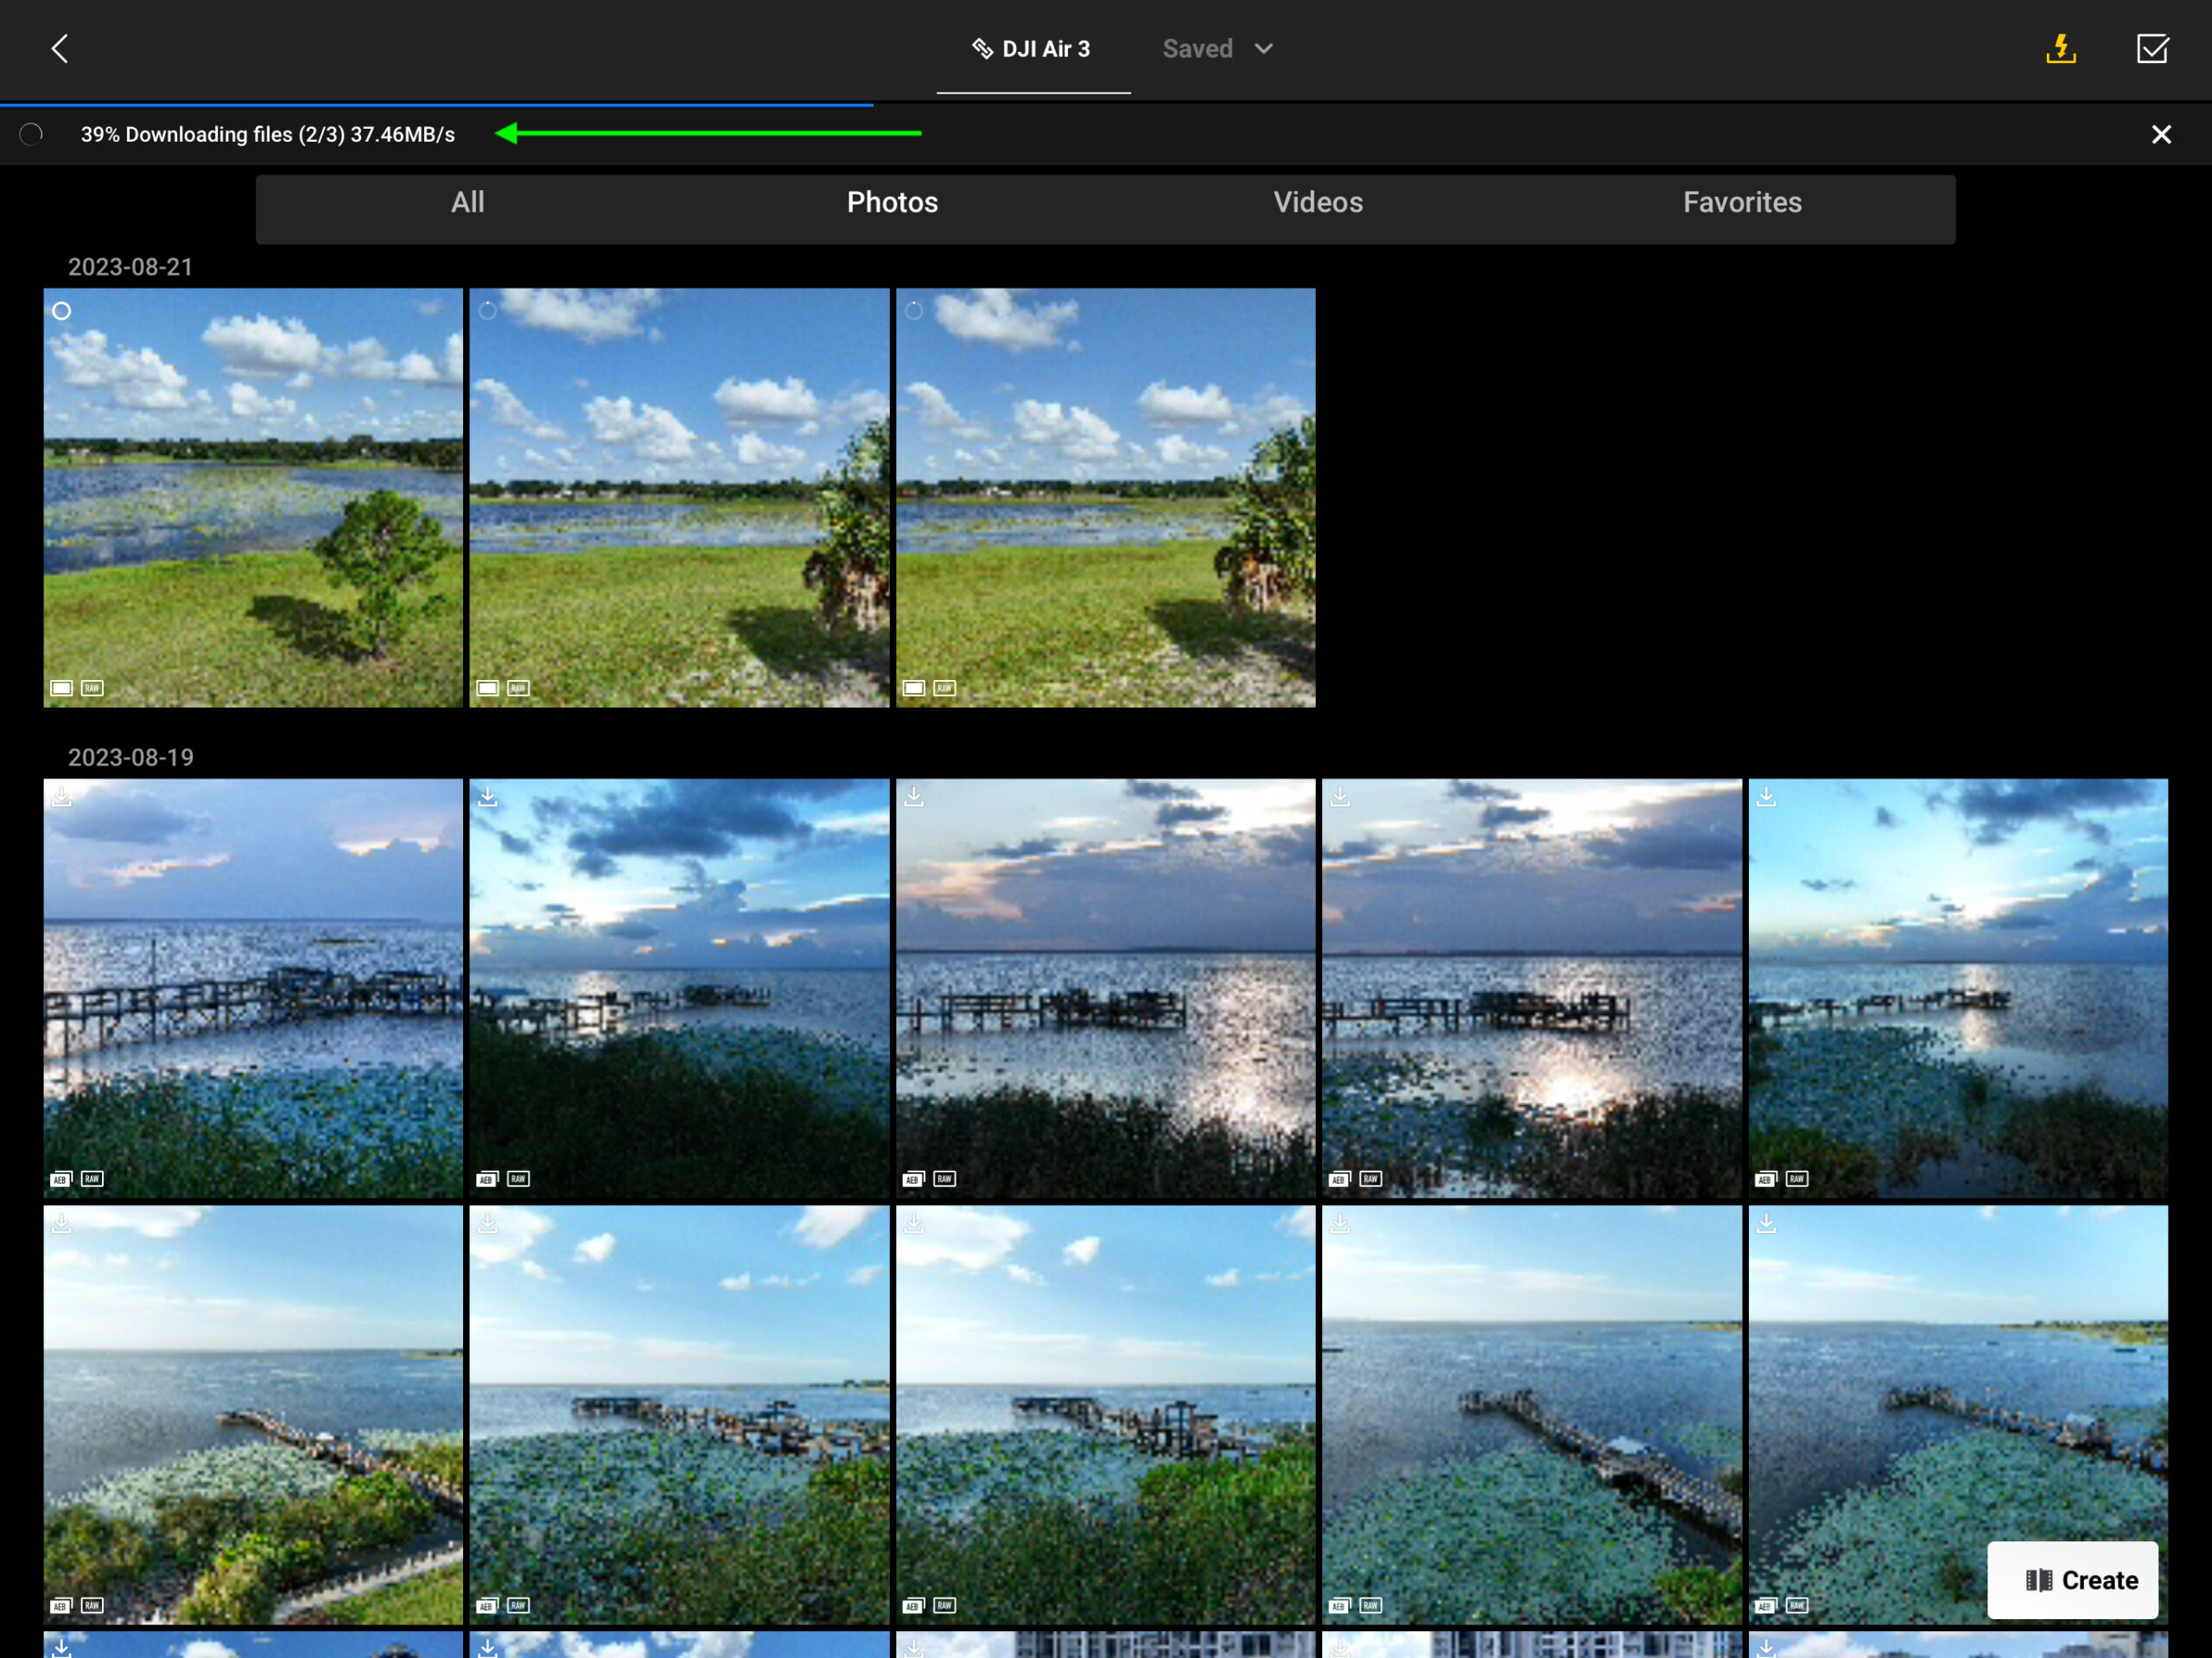
Step 6: Press the checkmark within the higher right-hand nook to enter batch choose mode, the place you’ll be able to both individually choose recordsdata to obtain or batch choose a number of recordsdata.
Choose the recordsdata wanted, then press the obtain button on the underside right-hand nook.
You’ll see a progress bar and indicator letting you realize the file(s) are downloading.
You’ll be able to then entry these recordsdata from inside your telephone or pill and use the video/photograph editor or photograph gallery of your selection.
