
Trendy purposes apply safety controls throughout many techniques and their subsystems. Holding all of those techniques in sync could be a significant endeavor if you happen to tried to implement it individually. Centralized identification administration is the way in which to take care of a single identification supplier (IdP) that may authenticate actors and handle and distribute their rights.
OpenSearch is an open-source search and analytics suite that lets you ingest, retailer, analyze, and visualize full textual content and log knowledge. Amazon OpenSearch Serverless makes it easy to deploy, scale, and function OpenSearch within the AWS Cloud, liberating you from the undifferentiated heavy lifting of sizing, scaling, and working an OpenSearch cluster. Whenever you use OpenSearch Serverless, you possibly can combine together with your present Safety Assertion Markup Language 2.0 (SAML)-compliant IdP to supply granular entry management on your OpenSearch Serverless collections. Our clients use quite a lot of IdPs, together with AWS IAM Id Heart (successor to AWS SSO), Okta, Keycloak, Energetic Listing Federation Companies (AD FS), and Auth0.
On this publish, you’ll discover ways to use Okta as your IdP and combine it with OpenSearch Serverless to securely handle your customers and teams for safe entry to your knowledge.
Resolution overview
The circulate of entry requests is depicted within the following determine.
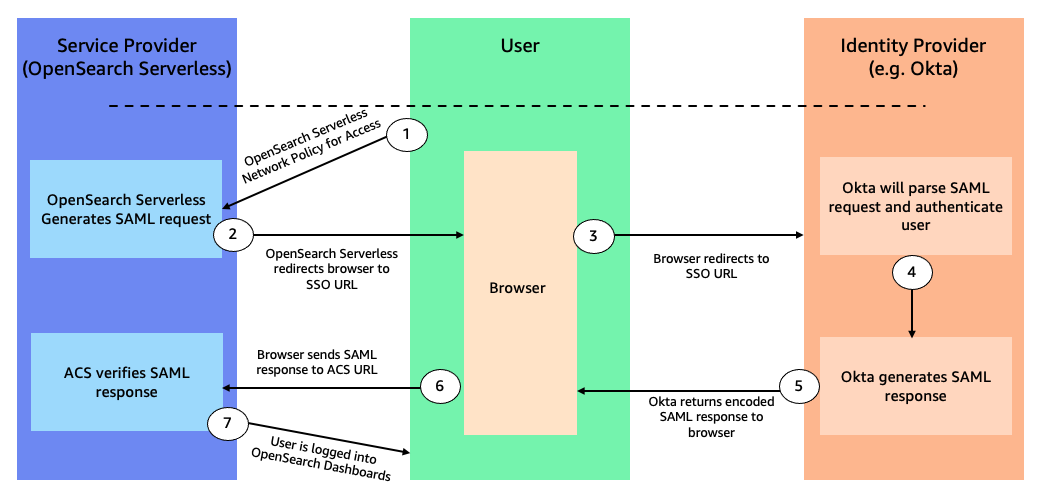
Whenever you navigate to OpenSearch Dashboards, the workflow steps are as follows:
- OpenSearch Serverless generates a SAML authentication request.
- OpenSearch Serverless redirects your request again to the browser.
- The browser redirects to the Okta URL through the Okta utility setup.
- Okta parses the SAML request, authenticates the consumer, and generates a SAML response.
- Okta returns the encoded SAML response to the browser.
- The browser sends the SAML response again to the OpenSearch Serverless Assertion Client Companies (ACS) URL.
- ACS verifies the SAML response and logs within the consumer with the permissions outlined within the knowledge entry coverage.
Conditions
Full the next prerequisite steps:
- Create an OpenSearch Serverless assortment. For directions, confer with Preview: Amazon OpenSearch Serverless – Run Search and Analytics Workloads with out Managing Clusters.
- Make an observation of your AWS account ID to make use of whereas configuring your utility in Okta.
- Create an Okta account, which you’ll use as an IdP.
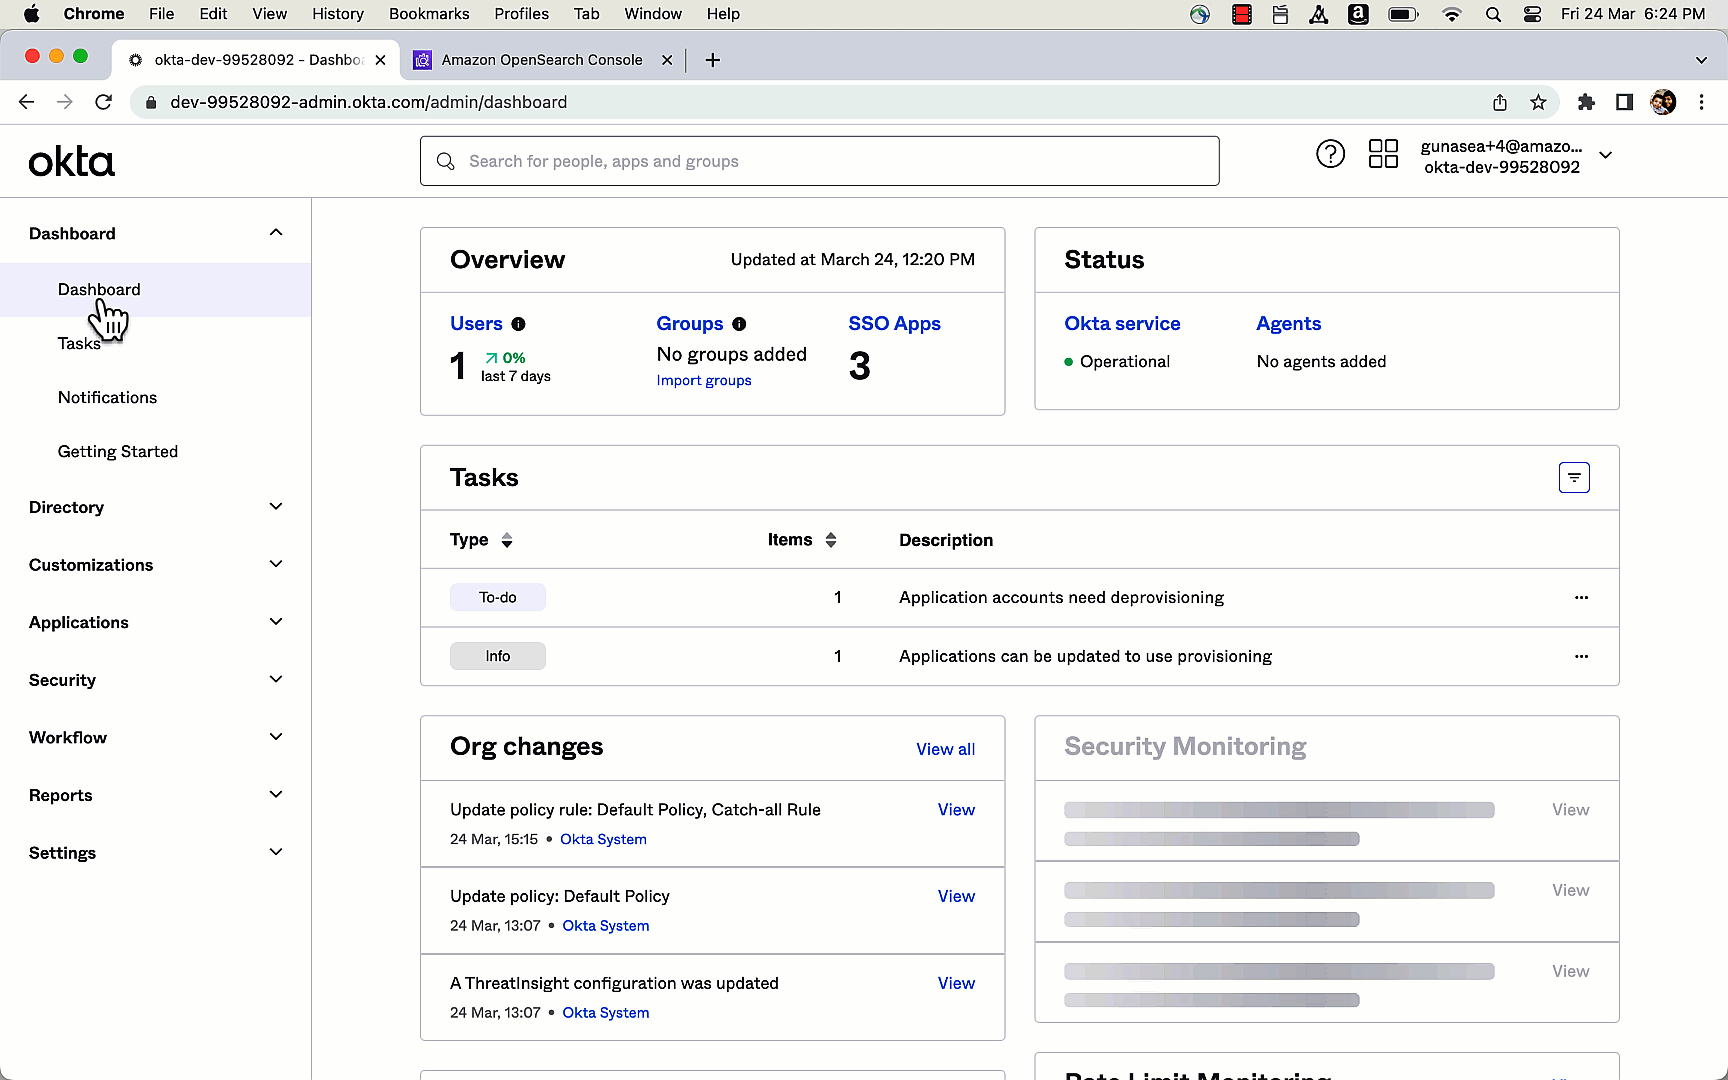
- Create customers and a gaggle in Okta:
- Log in to your Okta account, and within the navigation pane, select Listing, then select Teams.
- Select Add Group and title it
opensearch-serverless, then select Save. - Select Assign Individuals so as to add customers.
- You possibly can add customers to the
opensearch-serverlessgroup by selecting the plus signal subsequent to the consumer title, or you possibly can select Add All. - Add your customers, then select Save.
- To create new customers, select Individuals within the navigation pane beneath Listing, then select Add Particular person.
- Present your first title, final title, consumer title (e mail ID), and first e mail handle.
- For Password, select Set by admin and First-time password.
- To create your consumer, select Save.
- Within the navigation pane, select Teams, then select the
opensearch-serverlessgroup you created earlier.
The next graphic provides a fast demonstration of organising a consumer and group.
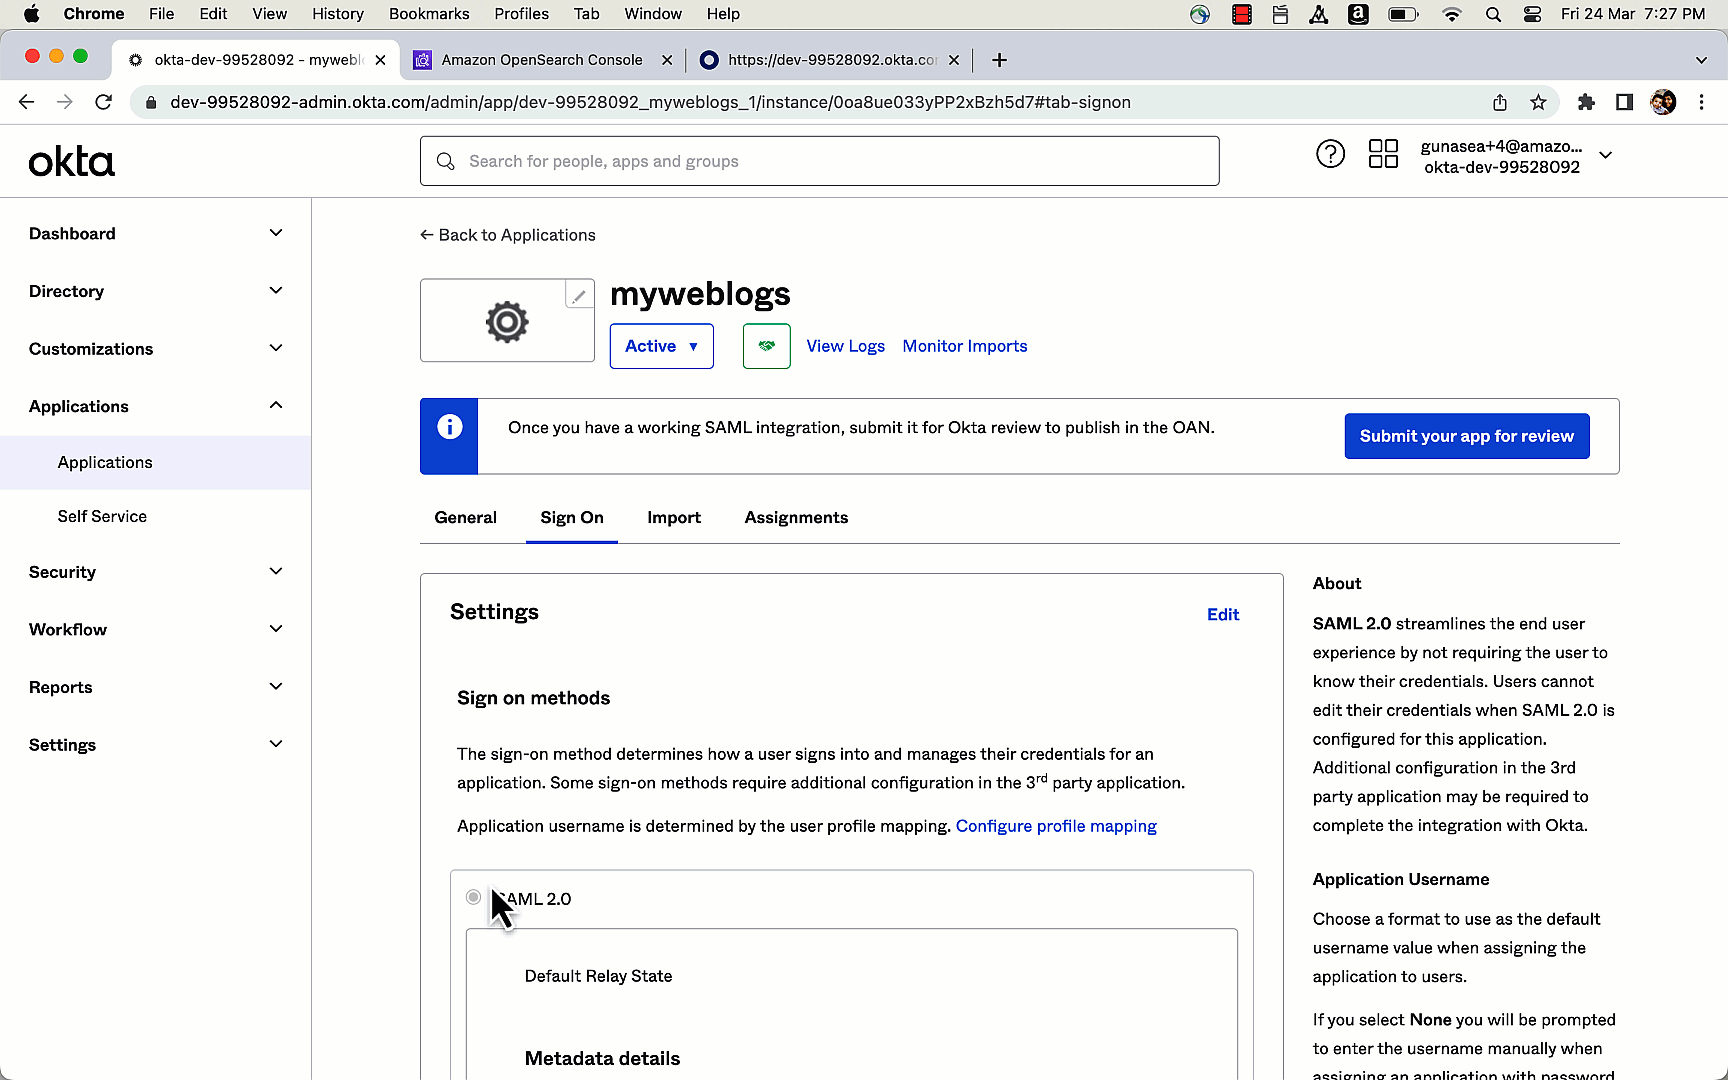
Configure an utility in Okta
To configure an utility in Okta, full the next steps:
- Navigate to the Functions web page on the Okta console.
- Select App Integration, choose SAML 2.0 net utility, then select Subsequent.
- For Title, enter a reputation for the app (for instance,
myweblogs), then select Subsequent. - Beneath Utility ACS URL, enter the URL utilizing the format
https://assortment.<REGION>.aoss.amazonaws.com/_saml/acs(substitute <REGION> with the corresponding Area) to generate the IdP metadata. - Choose Use this for Recipient URL and Vacation spot URL to make use of the identical ACS URL because the recipient and vacation spot.
- Specify
aws:opensearch:<AWS-Account-ID> beneath Viewers URI (SP Entity ID). This specifies who the assertion is meant for inside the SAML assertion. - Beneath Group Attribute Statements, enter a reputation that’s related to your utility, similar to
mygroup, and choose unspecified because the title format. (Don’t overlook this title, you’ll want it later.) - Choose equals because the filter and enter
opensearch-serverless. - Choose I’m a software program vendor. I’d prefer to combine my app with Okta and select End.
- After an app is created, select the sign-on tab, scroll all the way down to the metadata particulars, and duplicate the worth for Metadata URL.
The next graphic provides a fast demonstration of organising an utility in Okta through the previous steps.

Subsequent, you affiliate the customers and teams to the appliance that you simply created within the earlier step.
- On the Functions web page, select the app you created earlier.
- On the Assignments tab, select Assign.
- Choose Assign To Teams and select the group you want to assign to (
opensearch-serverlesson this case). - Select Accomplished.
The next graphic provides a fast demonstration of assigning teams to the appliance through the previous steps.
Arrange SAML on OpenSearch Serverless
On this part, you create a SAML supplier that you simply’ll use on your OpenSearch Serverless assortment. Full the next steps:
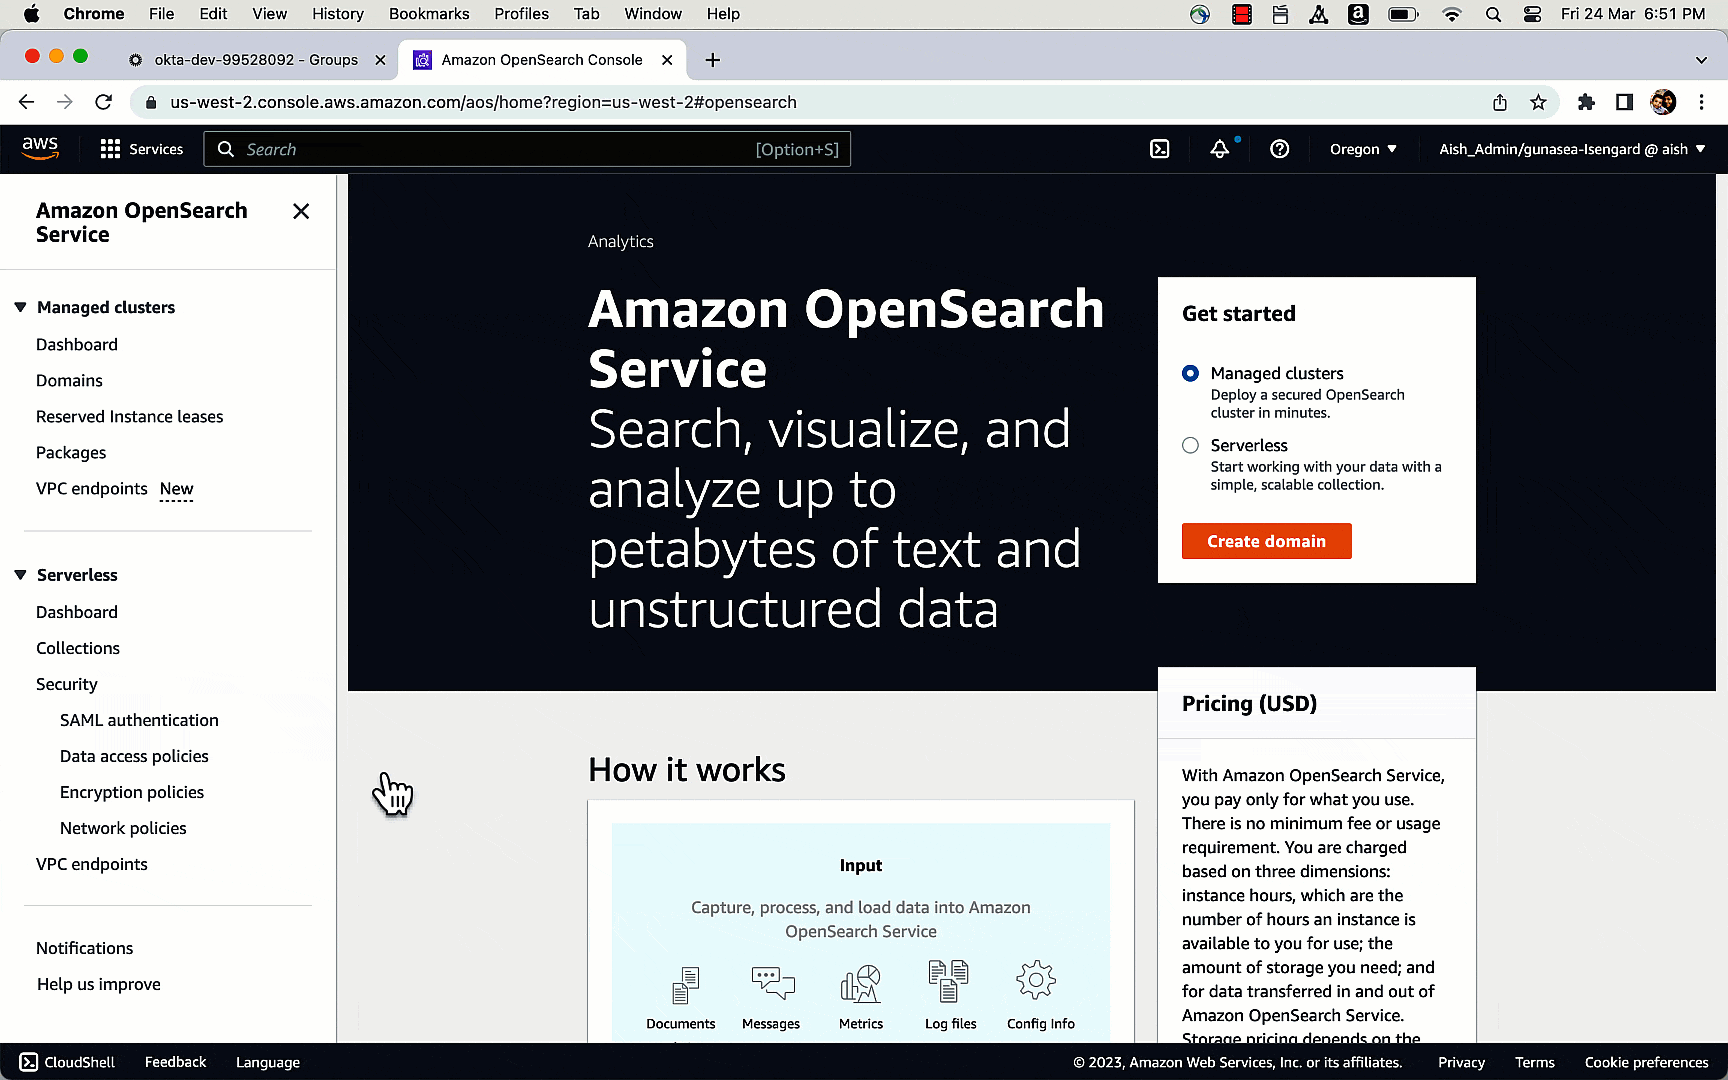
- Open the OpenSearch Serverless console on a brand new tab.
- Within the navigation pane, beneath Serverless, select SAML authentication.
- Choose Add SAML supplier.
- Present a recognizable title (for instance,
okta) and an outline. - Open a brand new tab and enter the copied metadata URL into your browser.
You need to see the metadata for the Okta utility.
- Be aware of this metadata and duplicate it to your clipboard.
- On the OpenSearch Service console tab, enter this metadata within the Present metadata out of your IdP part.
- Beneath Extra settings, enter
mygroupor the group attribute offered within the Okta configuration. - Select Create a SAML supplier.
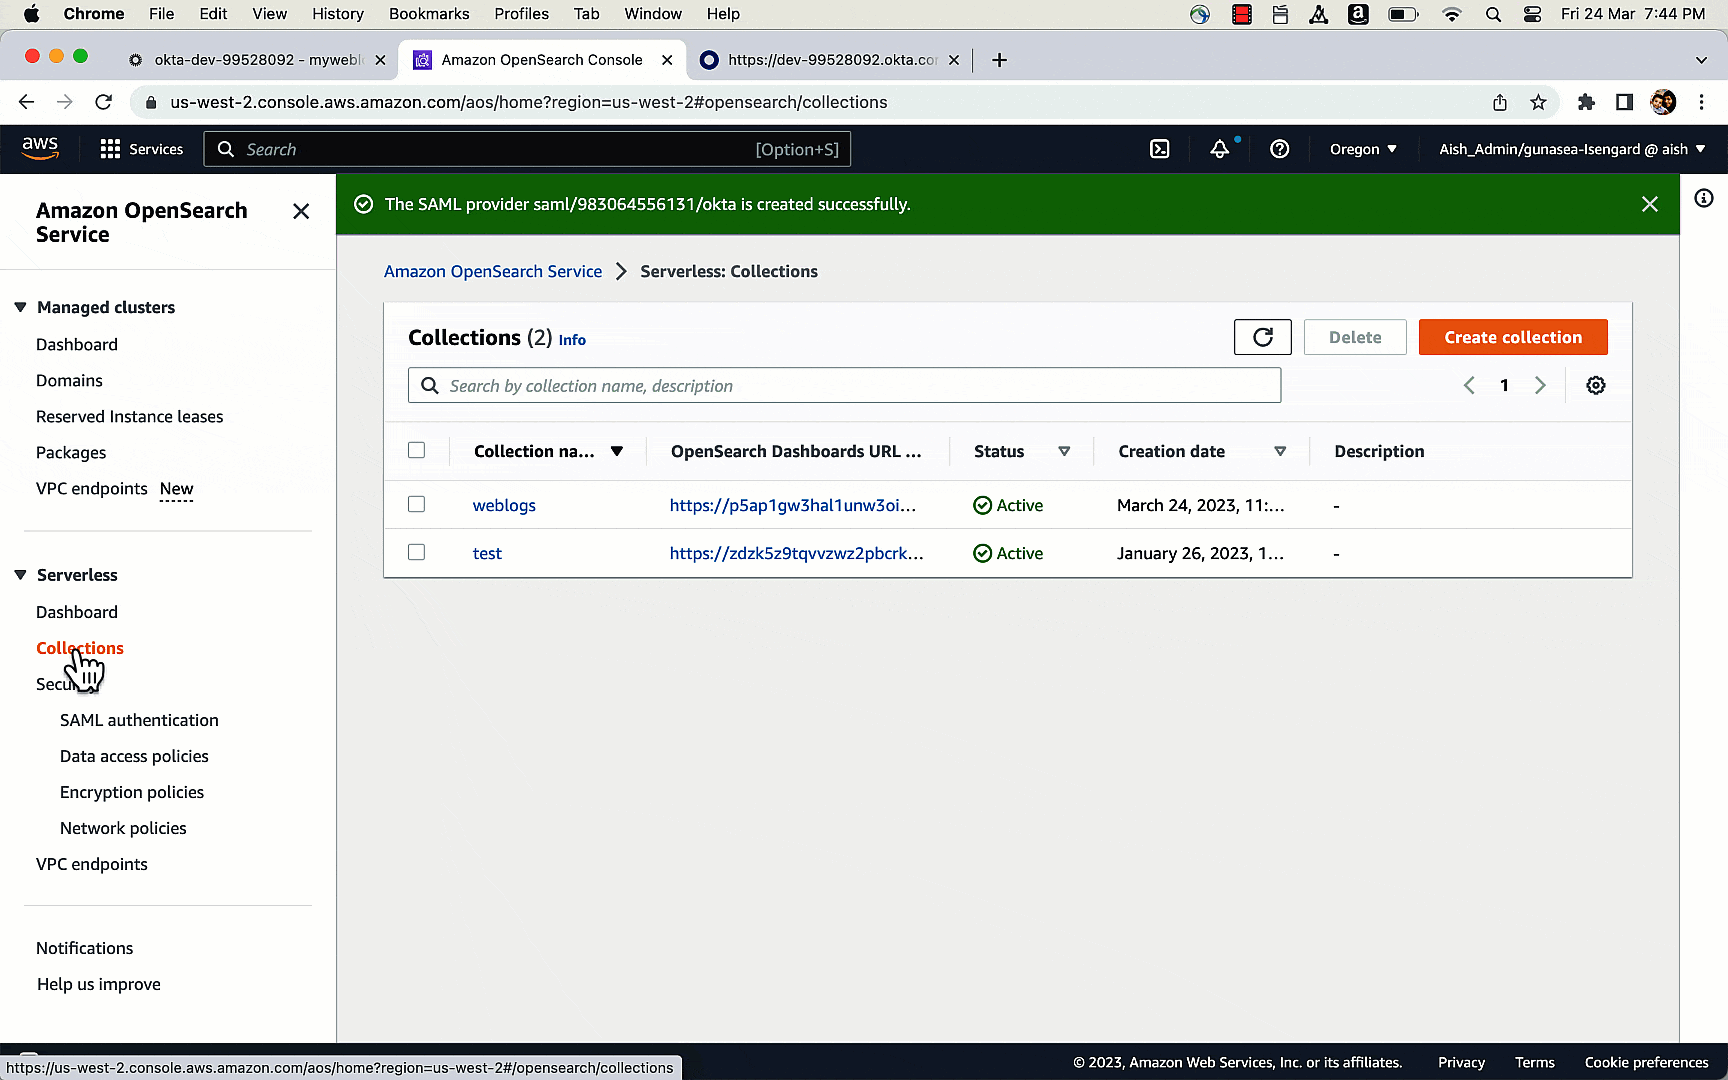
The SAML supplier has now been created.
The next graphic provides a fast demonstration of organising the SAML supplier in OpenSearch Serverless through the previous steps.
Replace the information entry coverage
You have to configure the correct permissions within the knowledge entry insurance policies related together with your OpenSearch assortment so your Okta group members can entry the OpenSearch Dashboards endpoint.
- On the OpenSearch Serverless console, open your assortment.
- Select the information entry coverage related to the gathering within the Knowledge Entry part.
- Select Edit.
- Select Principals and Add a SAML principal.
- Choose the SAML supplier you created earlier and enter
group/subsequent to it.opensearch-serverless - The OpenSearch Dashboards endpoint may be accessed by all group members. You possibly can grant entry to collections, indexes, or each.
- Select Save.
Log in to OpenSearch Dashboards
Now that you’ve set permissions to entry the dashboards, select the Dashboards URL beneath the final info for the OpenSearch Serverless assortment. This could take you to the web sitehttps://collection-endpoint/_dashboards/
You will note an inventory with all of the entry choices. Select the SAML supplier that you simply created (okta on this case) and log in utilizing your Okta credentials. You’ll now be logged into OpenSearch Dashboards with the permissions which are a part of the information entry coverage. You possibly can carry out searches or create visualizations from the dashboard.

Clear up
To keep away from undesirable prices, delete the OpenSearch Serverless assortment, knowledge entry coverage, and SAML supplier created as a part of this demonstration.
Abstract
On this publish, you realized learn how to arrange Okta as an IdP to entry OpenSearch Dashboards utilizing SAML. You additionally realized learn how to arrange customers and teams inside Okta and configure their entry to OpenSearch Dashboards. For extra particulars, confer with SAML authentication for Amazon OpenSearch Serverless.
You too can confer with the Getting began with Amazon OpenSearch Serverless workshop to know extra about OpenSearch Serverless.
In case you have suggestions about this publish, submit it within the feedback part. In case you have questions on this publish, begin a brand new thread on the OpenSearch Service discussion board or contact AWS Help.
In regards to the Authors
 Aish Gunasekar is a Specialist Options architect with a deal with Amazon OpenSearch Service. Her ardour at AWS is to assist clients design extremely scalable architectures and assist them of their cloud adoption journey. Exterior of labor, she enjoys mountaineering and baking.
 Prashant Agrawal is a Sr. Search Specialist Options Architect with Amazon OpenSearch Service. He works intently with clients to assist them migrate their workloads to the cloud and helps present clients fine-tune their clusters to attain higher efficiency and save on value. Earlier than becoming a member of AWS, he helped varied clients use OpenSearch and Elasticsearch for his or her search and log analytics use circumstances. When not working, yow will discover him touring and exploring new locations. In brief, he likes doing Eat → Journey → Repeat.
